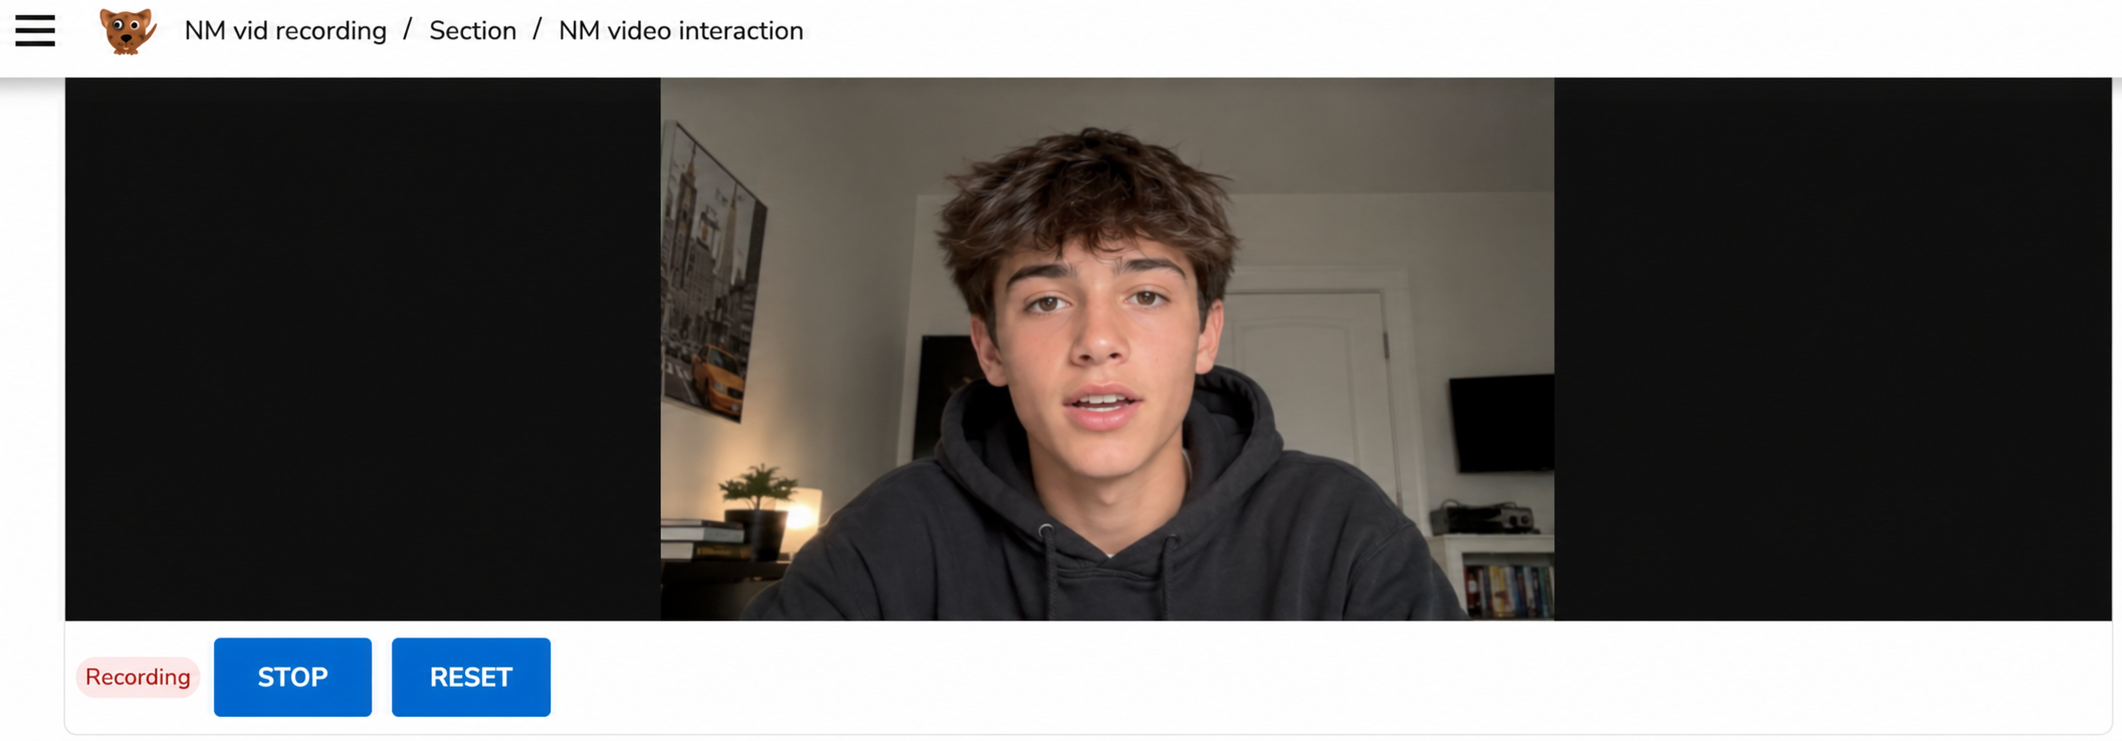
The Video Recording PCI allows an item author to add a question where the test taker answers by recording a video. This interaction is useful when the response should include both voice and camera presence, for example in speaking tasks, oral responses, or presentation-style questions.
1. Configure the interaction
The Video Recording Interaction allows test takers to respond to an item by recording a video using their device's camera and microphone. This interaction is commonly used for speaking assessments, oral responses, or presentation-style tasks.
Test takers must have a functioning camera and microphone and grant browser permission to access them before recording.
Select the interaction, then select the Question tab.
Under Interaction Properties, configure the following options:
|
Option |
Default value |
What it does |
When to use it |
|---|---|---|---|
|
Allow playback |
Yes |
Lets the test taker play back the recorded video after recording stops. |
Use this when the test taker should be able to review the recording before moving on. |
|
Hide stop button |
No |
Removes the manual Stop button during recording. The recording then ends when the time limit is reached, or when the system stops it. |
Use this when you want the recording to continue until the set time limit. |
|
Auto-start video recording |
No |
Starts recording automatically after the test taker gives permission to use the camera and microphone. |
Use this when you want recording to begin without the test taker clicking a start button. |
|
Countdown before start |
0 seconds |
Shows a short countdown before recording begins. |
Use this when the test taker needs a few seconds to prepare before recording starts. |
|
Hide record button |
No |
Hides the manual Start recording button. |
Use this together with auto-start when the recording should begin automatically. |
|
Auto playback recording |
No |
Plays the recorded video automatically after the recording ends. |
Use this when you want the test taker to immediately see the recorded response. |
|
Play sound |
No |
Plays a short sound when recording starts and when it stops. |
Use this when you want a clear audio signal for the start and end of recording. |
|
Max attempts |
2 |
Sets how many recordings the test taker can make. A value of 0 means unlimited attempts. |
Use this when you want to limit or allow retakes. |
|
Time limit |
120 seconds |
Sets the maximum recording length. |
Use this when the response must stay within a fixed amount of time. |
2. Configure response processing and scoring
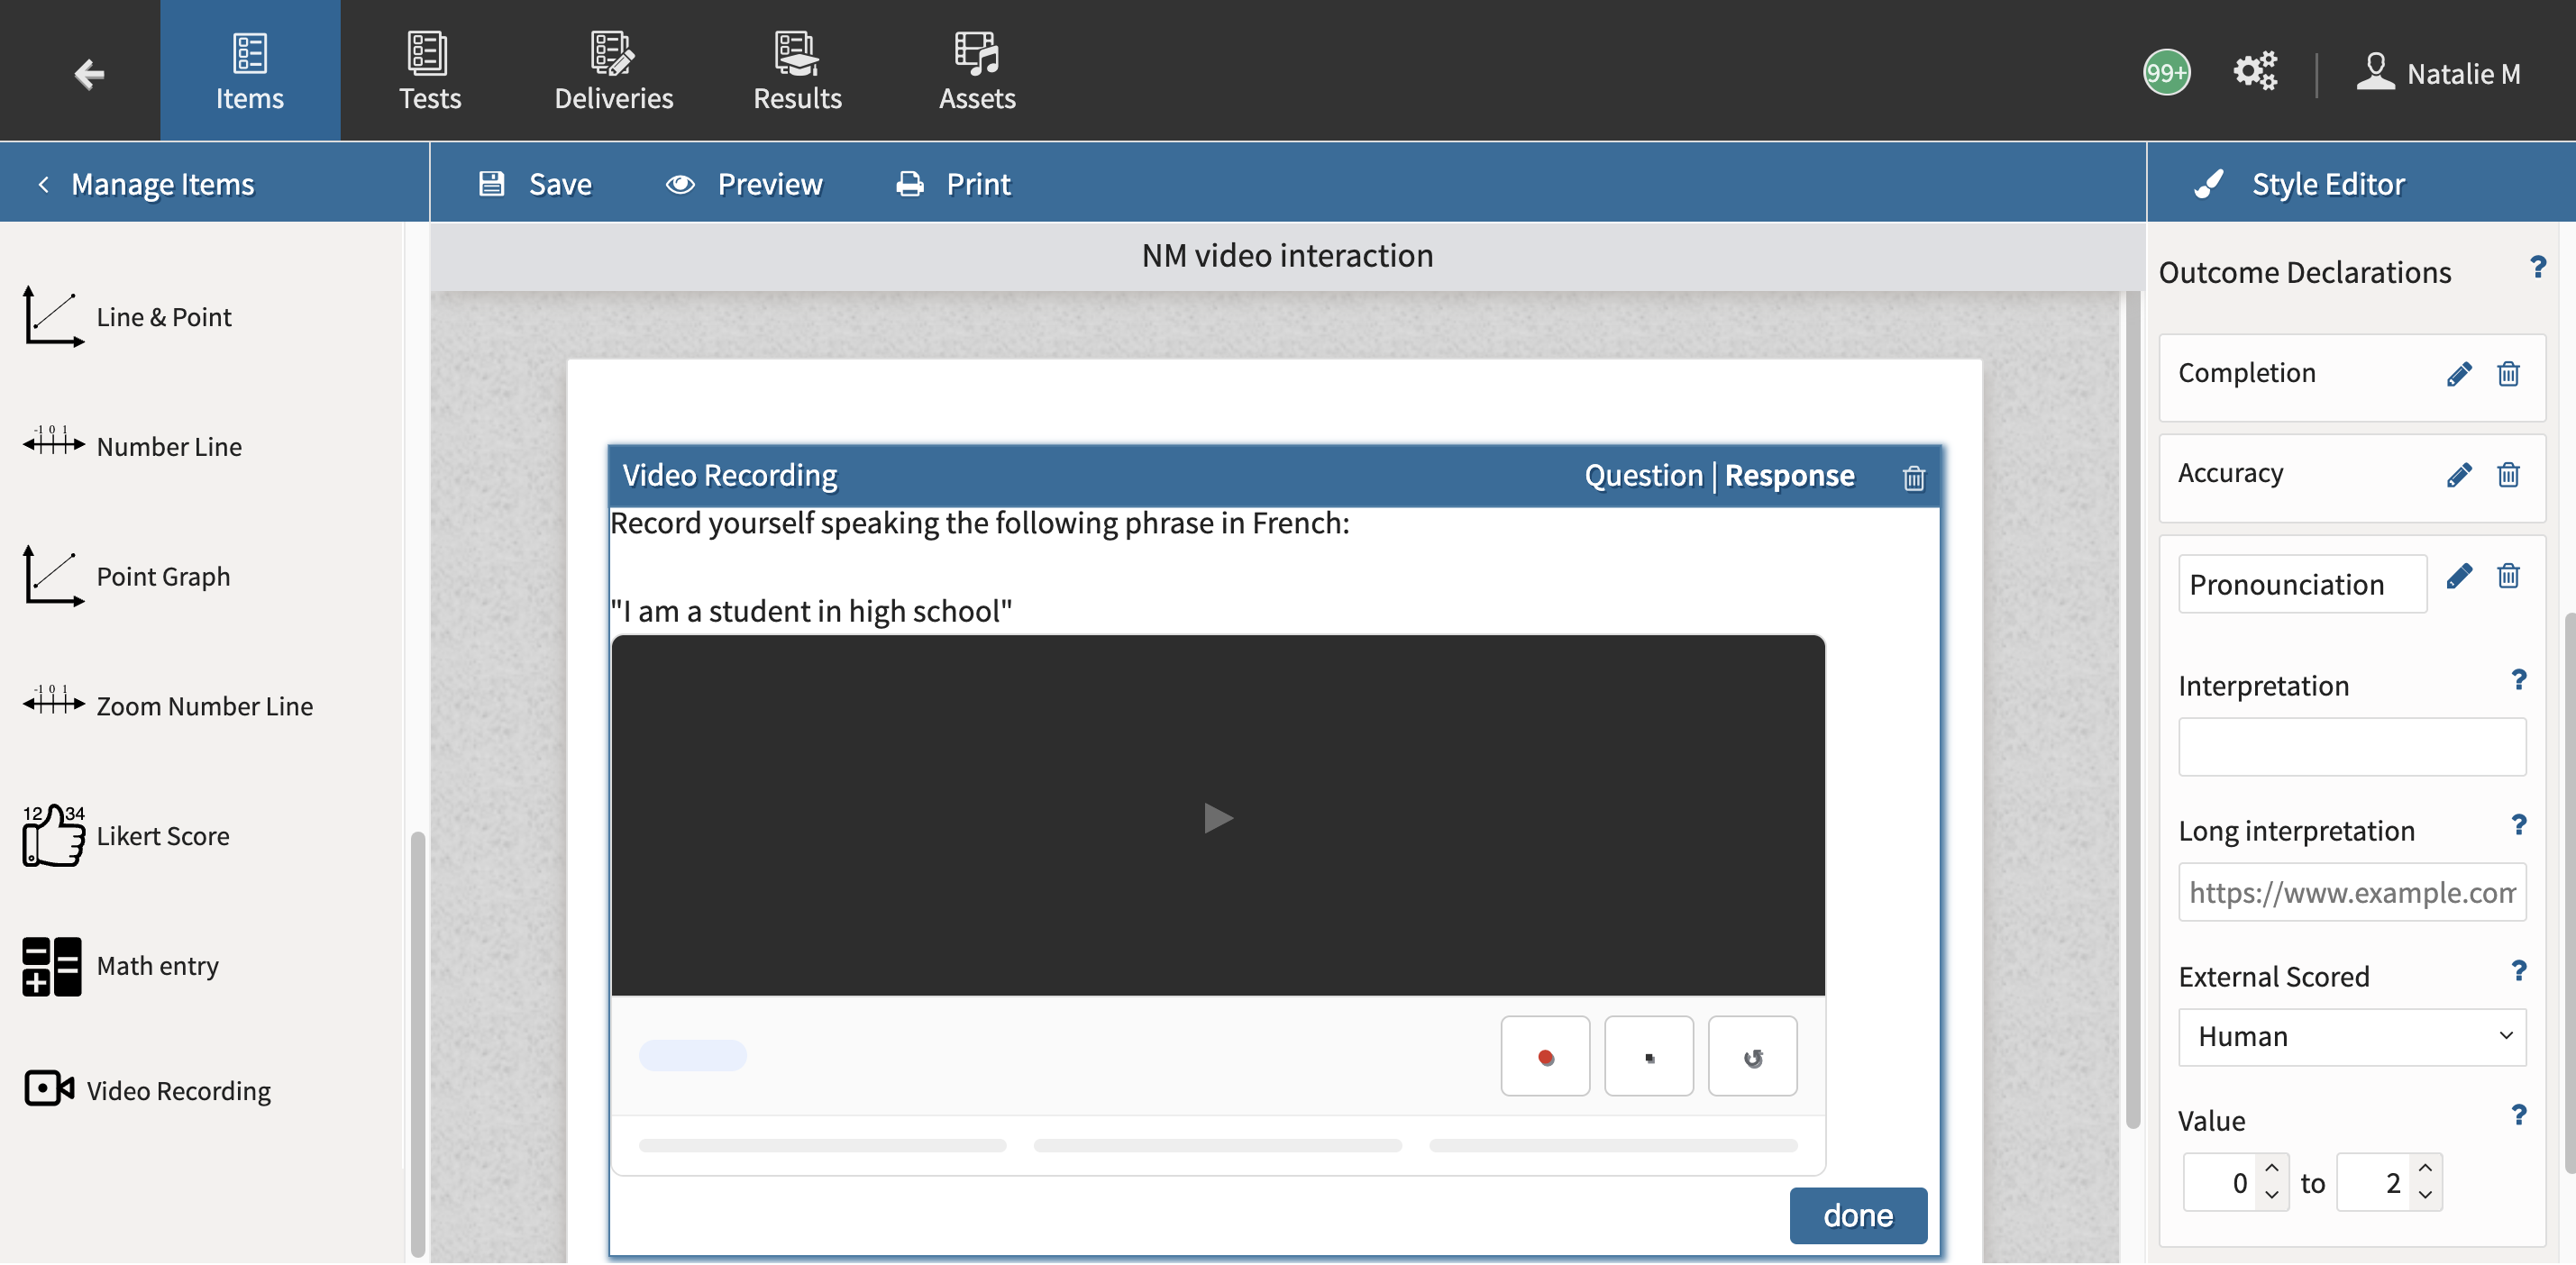
The Video Recording Interaction requires manual scoring.
-
Select the Response tab.
-
Under Outcome declarations, select Add outcome.
-
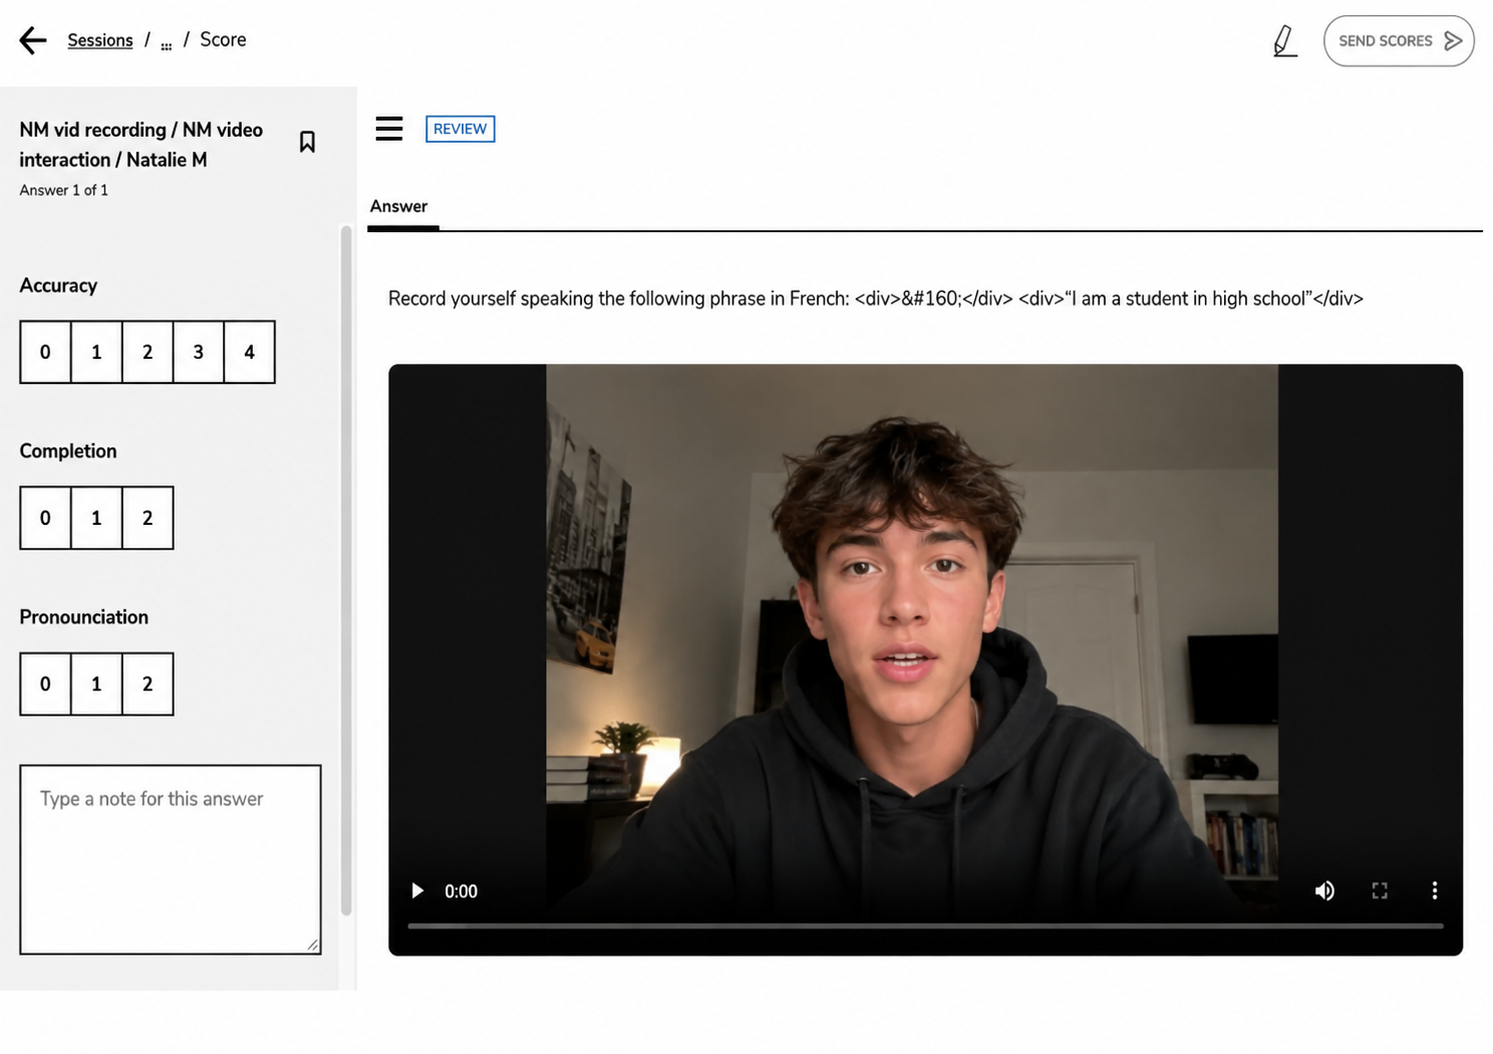
Create an outcome declaration for each scoring criterion (for example, Accuracy, Pronunciation, or Fluency).
-
Configure the maximum score for each scoring trait.
-
Set External scored to Human for every outcome declaration.
These outcome declarations become the scoring criteria available to scorers during evaluation.
What test takers see during a session
For the video recording interaction, the browser asks for permission to use the camera and microphone. The test taker must allow access before the recording can start.
Depending on the authoring settings, the test taker may see:
-
a Start recording button
-
a Stop button
-
a Reset option to clear the current recording
-
a countdown before recording begins
-
playback controls after recording is finished
-
a status message showing whether the response is being prepared, recorded, saved, or uploaded
If playback is allowed, the test taker can review the current recording after it is finished.
If more attempts are allowed, the test taker can clear the current recording and make another one.
If the stop button is hidden, the recording will continue until the time limit is reached.
If auto-start is enabled, recording begins automatically after permission is granted and after any configured countdown is completed.
If auto playback is enabled, the finished video starts playing automatically after recording stops.