
The TAO Portal editor in System Settings displays which aspects of session presentation are configurable platform-wide.
The elements configured in this section will apply to each session launched within the organization.
Breadcrumbs
Breadcrumbs display at the top-left of an open session. They typically display name of the test, section, and item the test taker is currently on.
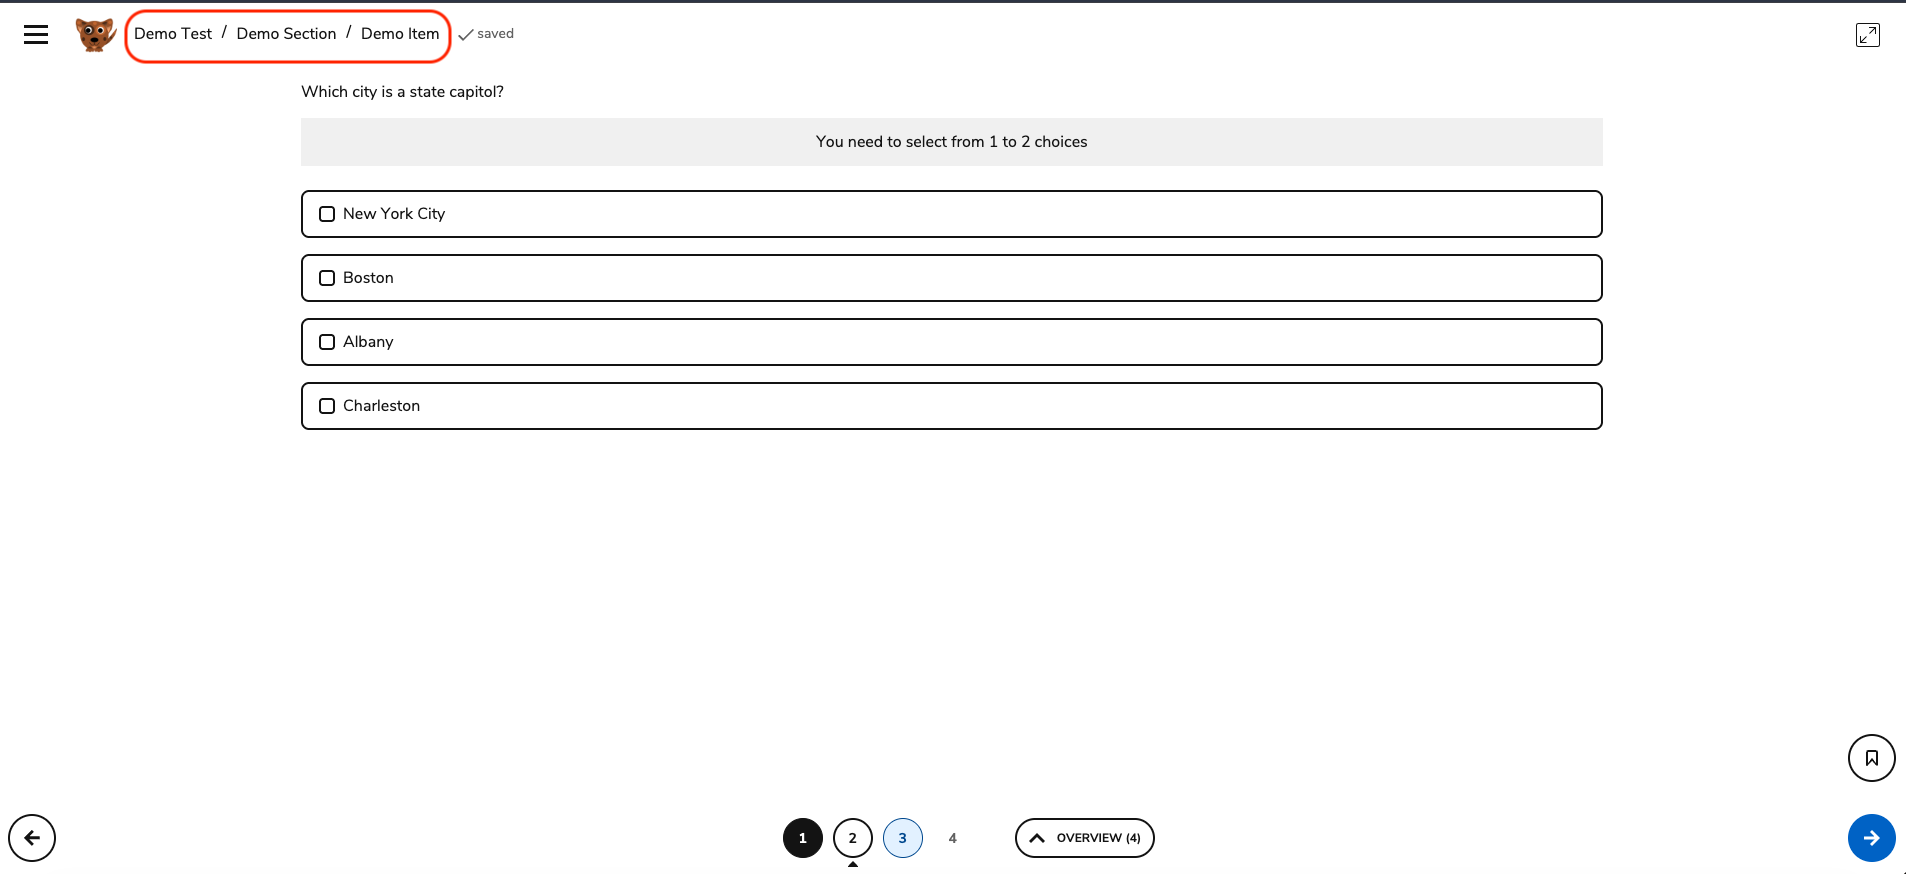
In the TAO Advance editor, you can:
-
Disable all breadcrumbs.
-
Disable whether the test, part, section, or items will display in the breadcrumbs. By default the title displays:
-
Tests: The title is editable in test authoring. See Test settings
-
Part: The title is editable in test authoring. See Test Part settings
-
Section: The title is editable in test authoring. See Test Section settings
-
Item: The title is editable in item authoring. See Creating a test item
-
-
Add custom text will display instead of the original names/titles.
-
Display the position of the test, part, section, or item. They will display in numerical order. For example, if you select Position for the Part breadcrumbs, and your test has for parts, the breadcrumbs will display as Part 1, Part 2, Part 3, and Part 4.
-
Display the position of the test, part, section, or item in relation to the total.
-
For parts, sections, and items, you can select Identifier to display the internal identifier of that entity.
-
Parts: The identifier is editable in test authoring. See Test Part settings
-
Sections: The identifier is editable in test authoring. See Test Section settings
-
Items: The identifier is editable in item authoring. See Creating a test item
-
-
For sections and items, you can select Label to display the label.
-
Sections: The label is editable in test authoring. See Test Section settings
-
Items: The label is editable in item authoring. See Creating a test item
-
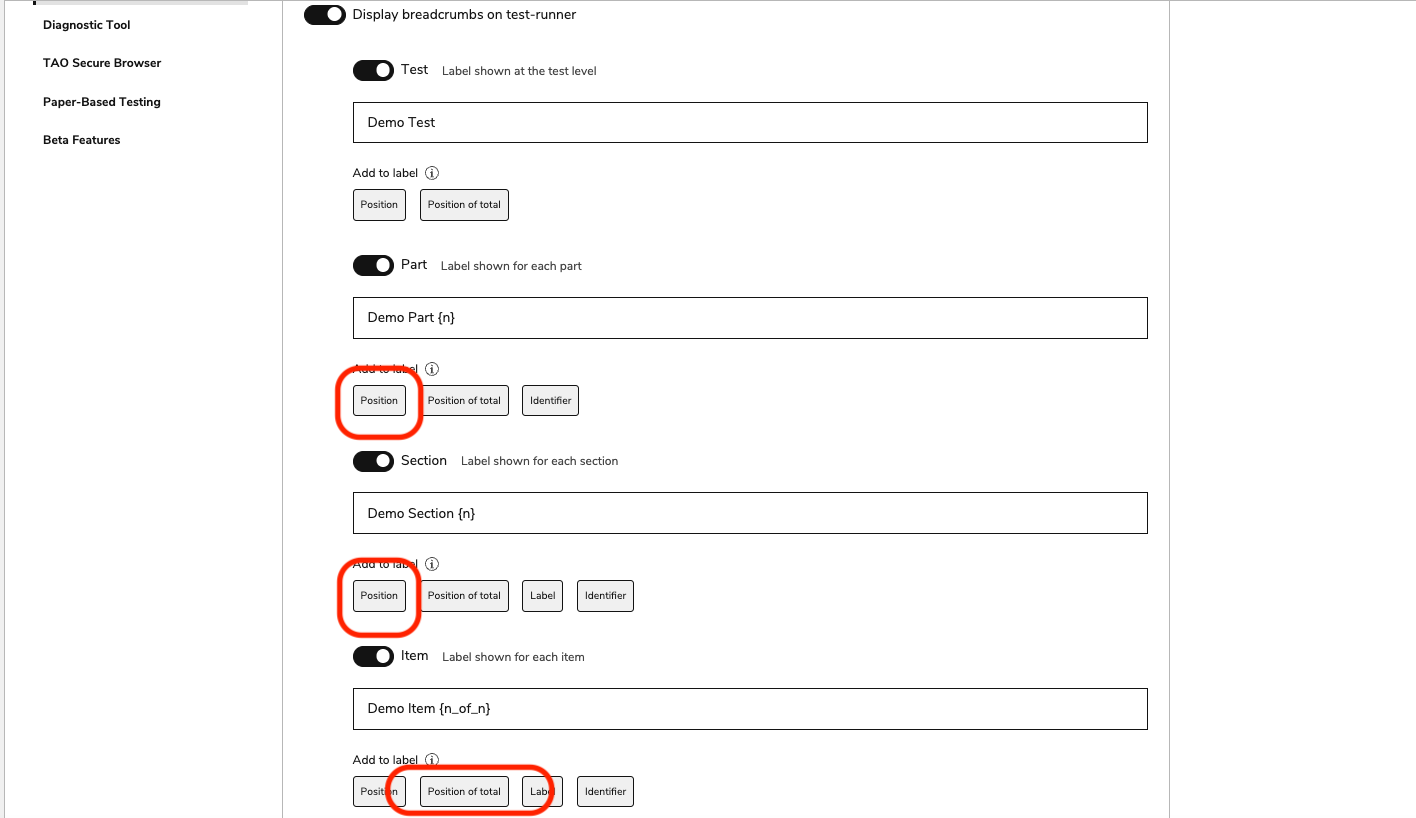
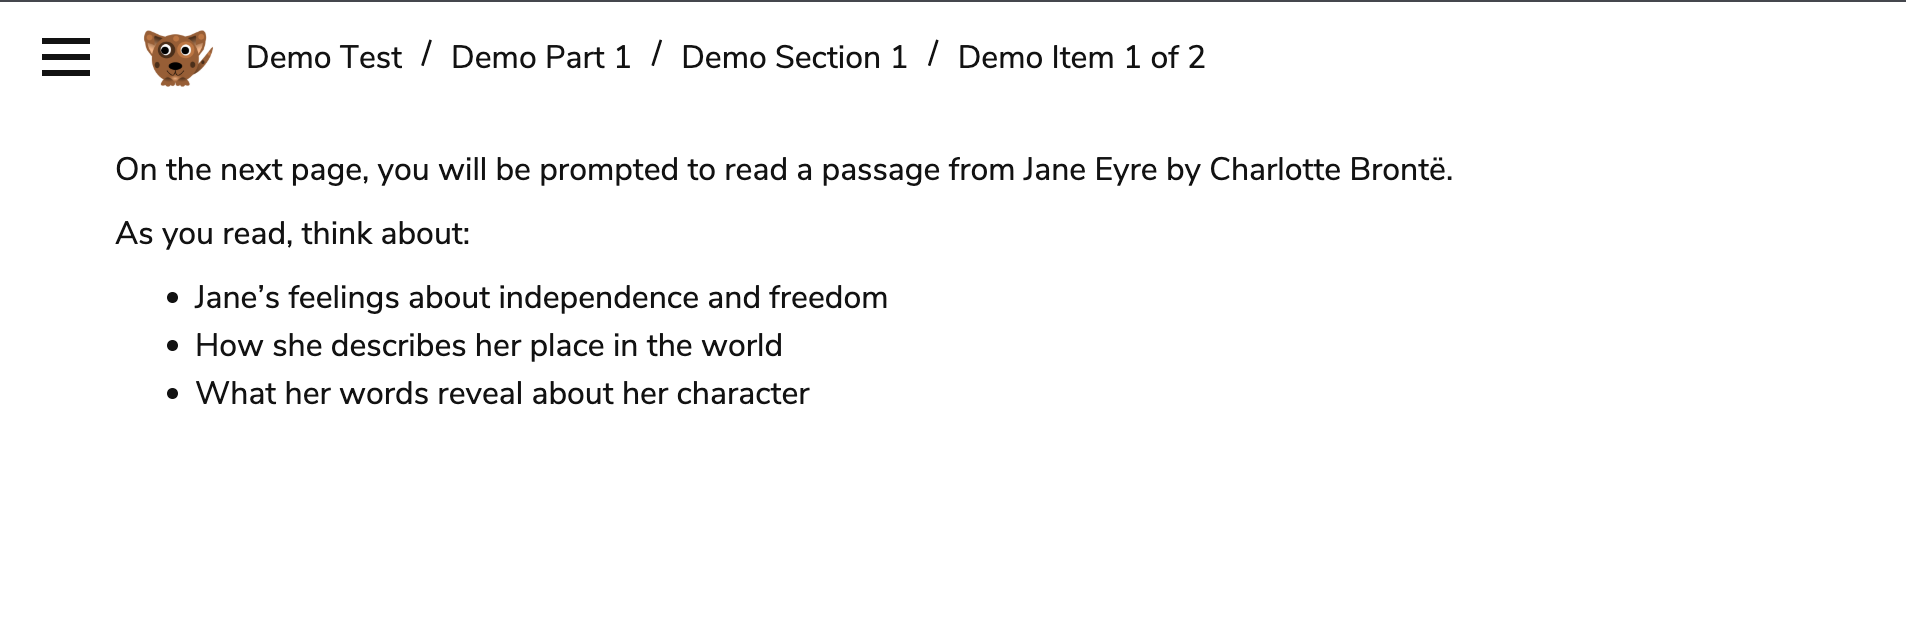
The following codes will appear next to any breadcrumb text if you click the label options:
-
{n}placeholder to render the positional number (example:“Part {n}"rendersPart 1) -
{n_of_n}placeholder to render localised "position of total" (example:“Section {n_of_n}"rendersSection 1 of 3) -
{label}placeholder to render the authored label (section,itemlevels) -
{id}placeholder to render the authored id (testPart,section,itemlevels)
Display
Select Enlarge images to allow test takers to select images and open a pop-up window, where they can easily zoom in, zoom out, and pan across the image.
Test navigation
For more information on test navigation options, see Test Part settings.
Linear navigation
Enable linear navigation delay: Add a delay (in seconds) before the forward navigation button becomes clickable in linear navigation tests/parts. This prevents test takers from accidentally skipping an item without being able to go back.
Once this feature is enabled in System Settings, this behavior will replace the existing behavior for the linear navigation (users navigating only to future items without delay) in any test where it is configured.
Non-linear navigation
Restrict non-linear navigation: The option to restrict non-linear navigation so that users can freely go back to any item, but can only go forward to the next item is now available.
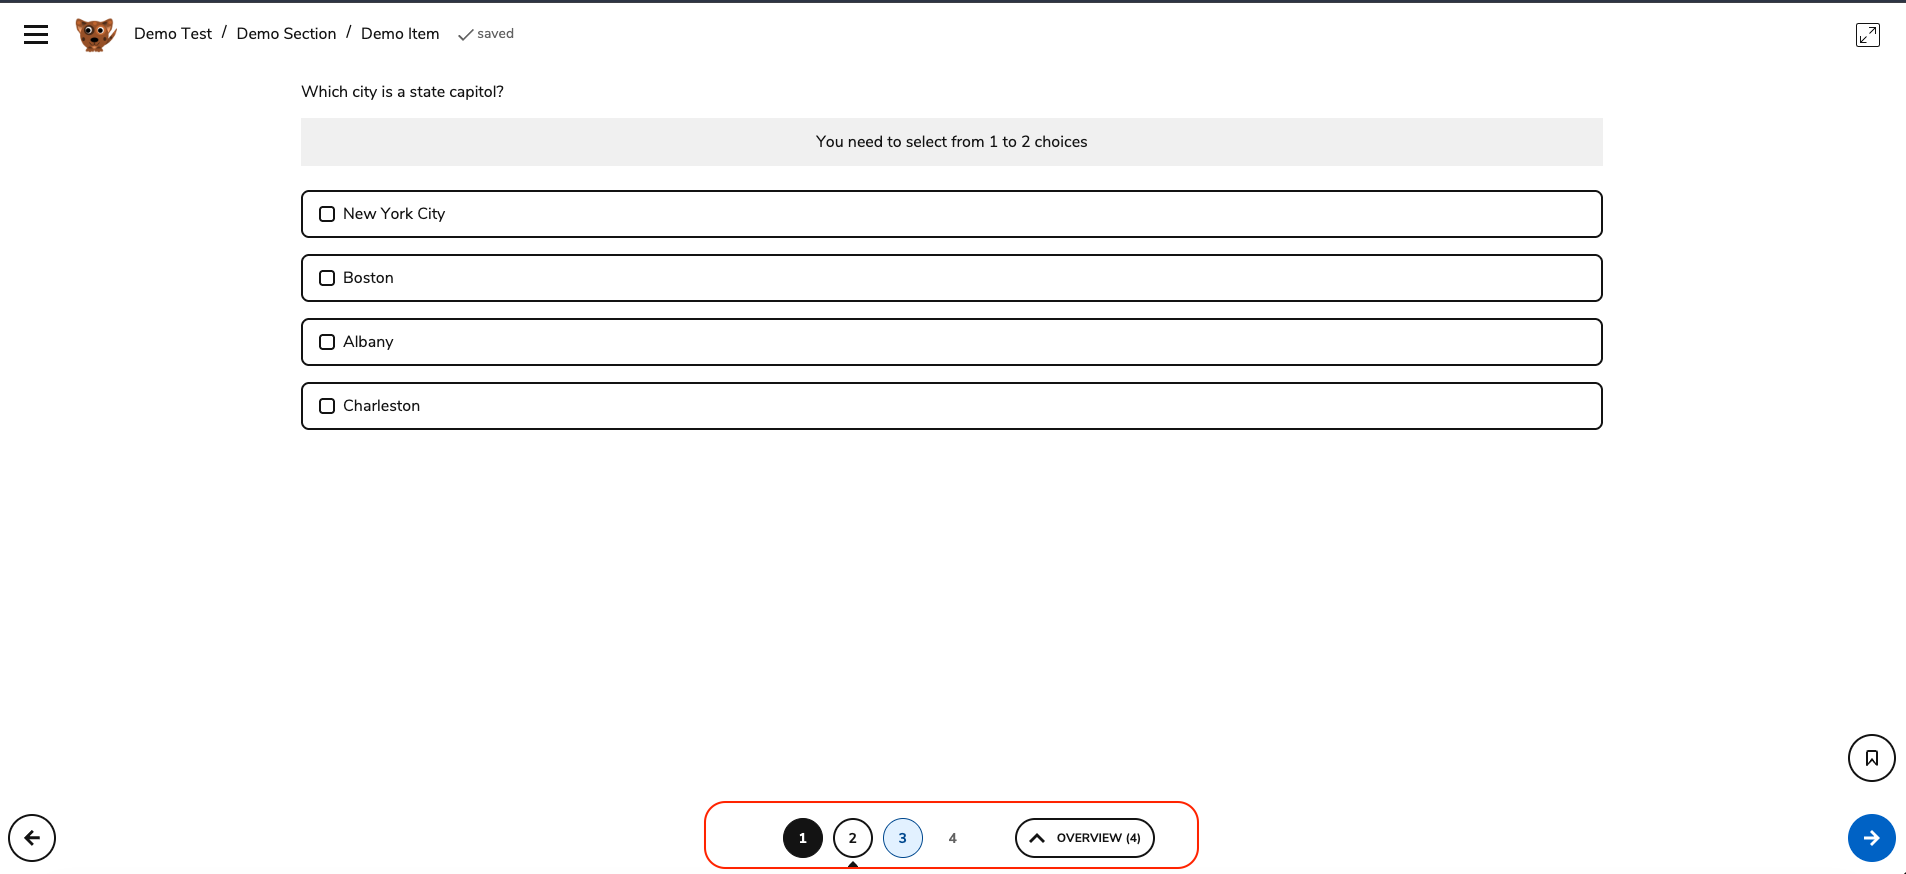
Once this feature is enabled in System Settings, this behavior will replace the existing behavior for the non-linear navigation (users freely navigating to any past or future item) in any test where it is configured.
Prevent early submission: This setting prevents test-takers from submitting a test part if they are not on the last item in that test part. The test taker will not be able to click the submit button until they have manually navigated through all the items in the test.
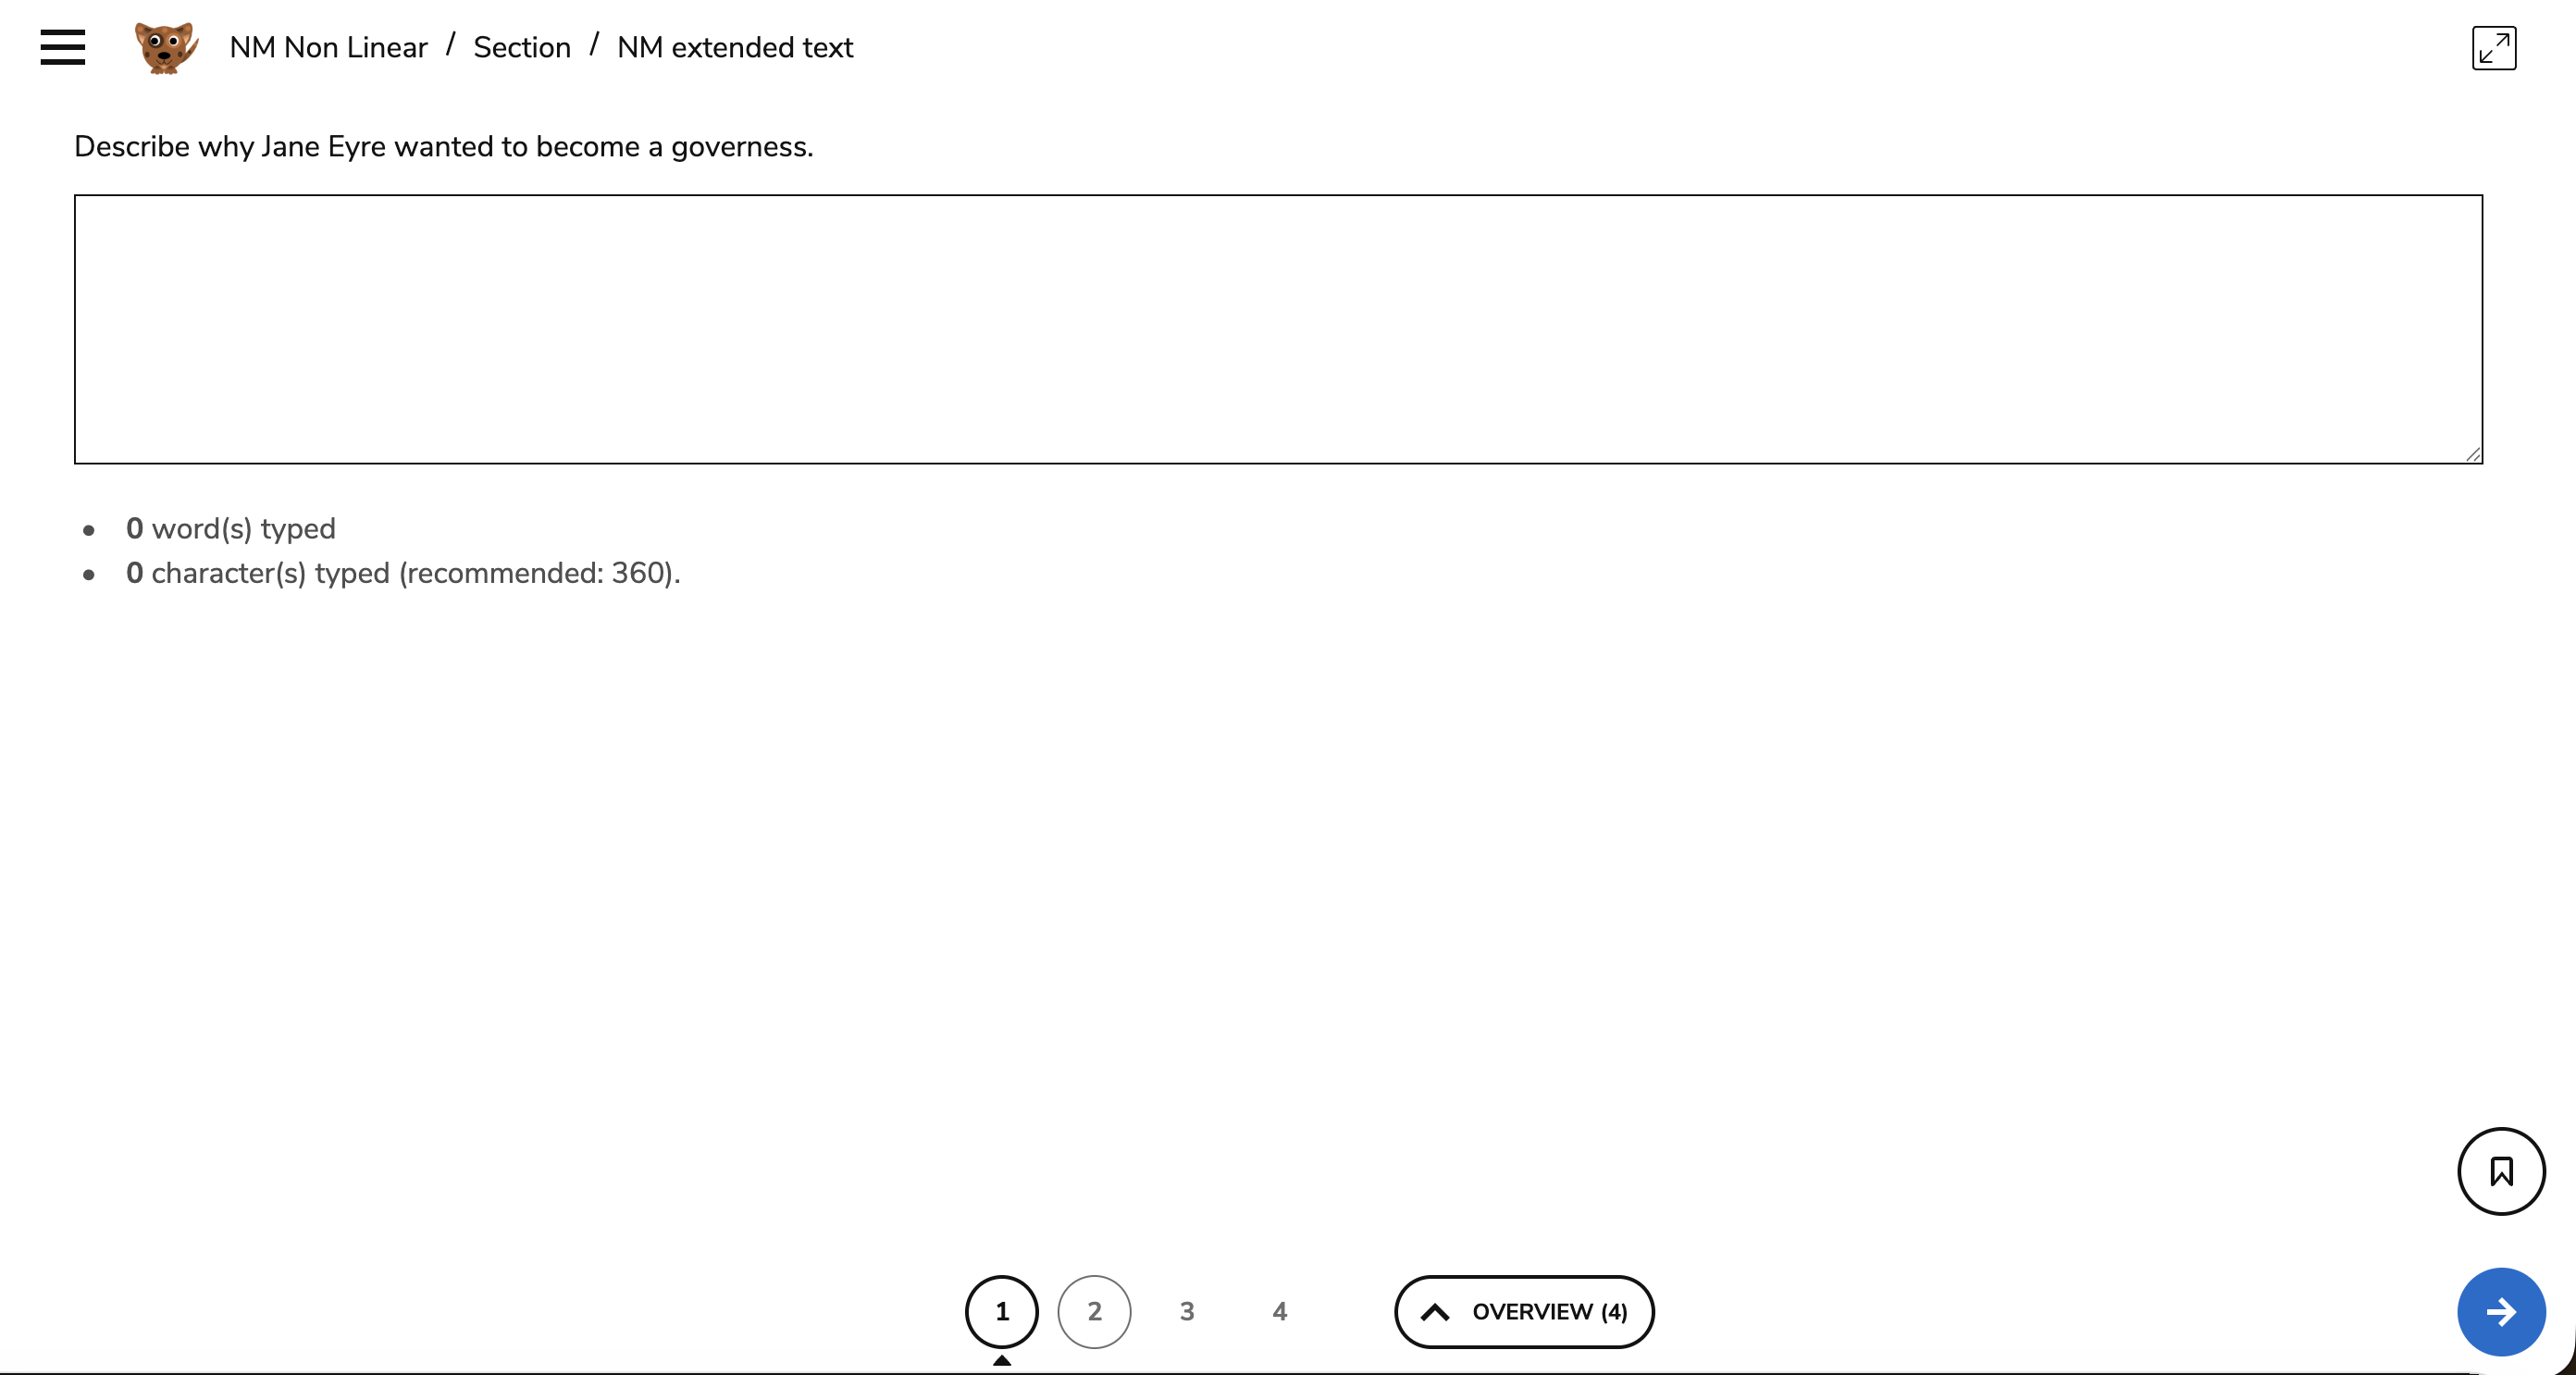
Warning for timed tests
Time-Out warning: Enable this option to display a warning to test takers prior to the timer running out for any timer configured at any level in the test. Once this option is selected, at the amount of time (in seconds) before the timer runs out to designate when the test taker will see the warning.
For information on how warnings appear to test takers, see Test navigation for test takers.
Most timer/submission warnings are hard coded and appear to test takers regardless of what is enabled in test authoring.
Session submission confirmation
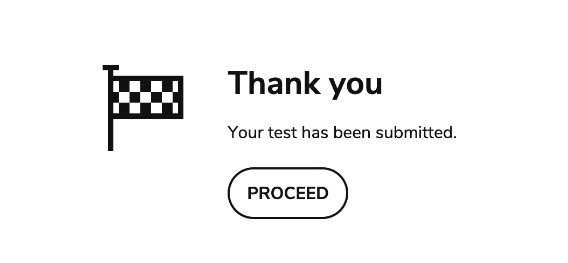
Show thank you page before redirect: Toggle this option to display a thank you/confirmation page to test takers once they successfully submit their tests. Once the confirmation page displays, test takers will need to click Proceed - this will redirect them to the My Sessions page.
Images
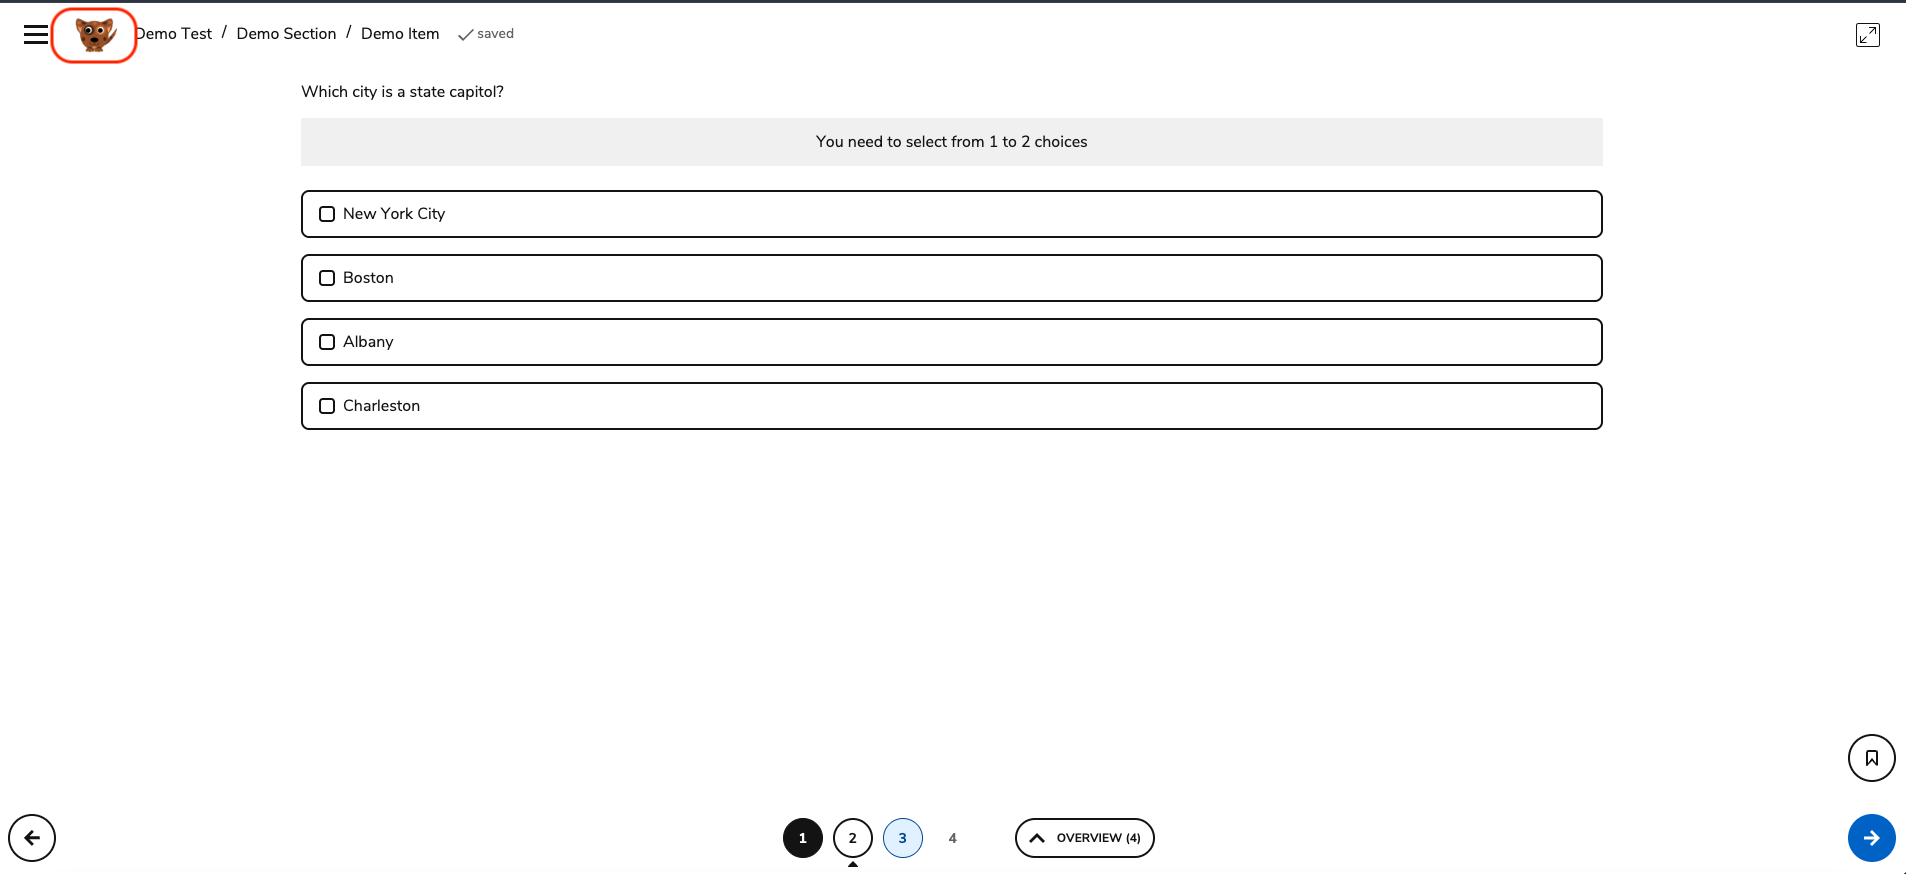
Add a custom logo that will display in the top-left corner of a test session.
Read-aloud voices
Configure Read-aloud voices for supported languages.
-
Select Add Custom Voice to add a new language.
-
For each language, select which voice is used for the Male and Female voice options.
-
Click the play button next to a voice to preview it. To edit which text is spoken during the preview, click Edit next to Read-aloud preview text, then type the sentence you want to hear.
During test delivery, Read-aloud uses the configured voice mapping for the language assigned to the session. Test takers can select Male or Female, but cannot choose a specific voice themselves.