
The Branding editor in System Settings allows you to customize the visual branding for the login page across all environments in your organization.
Text fields
-
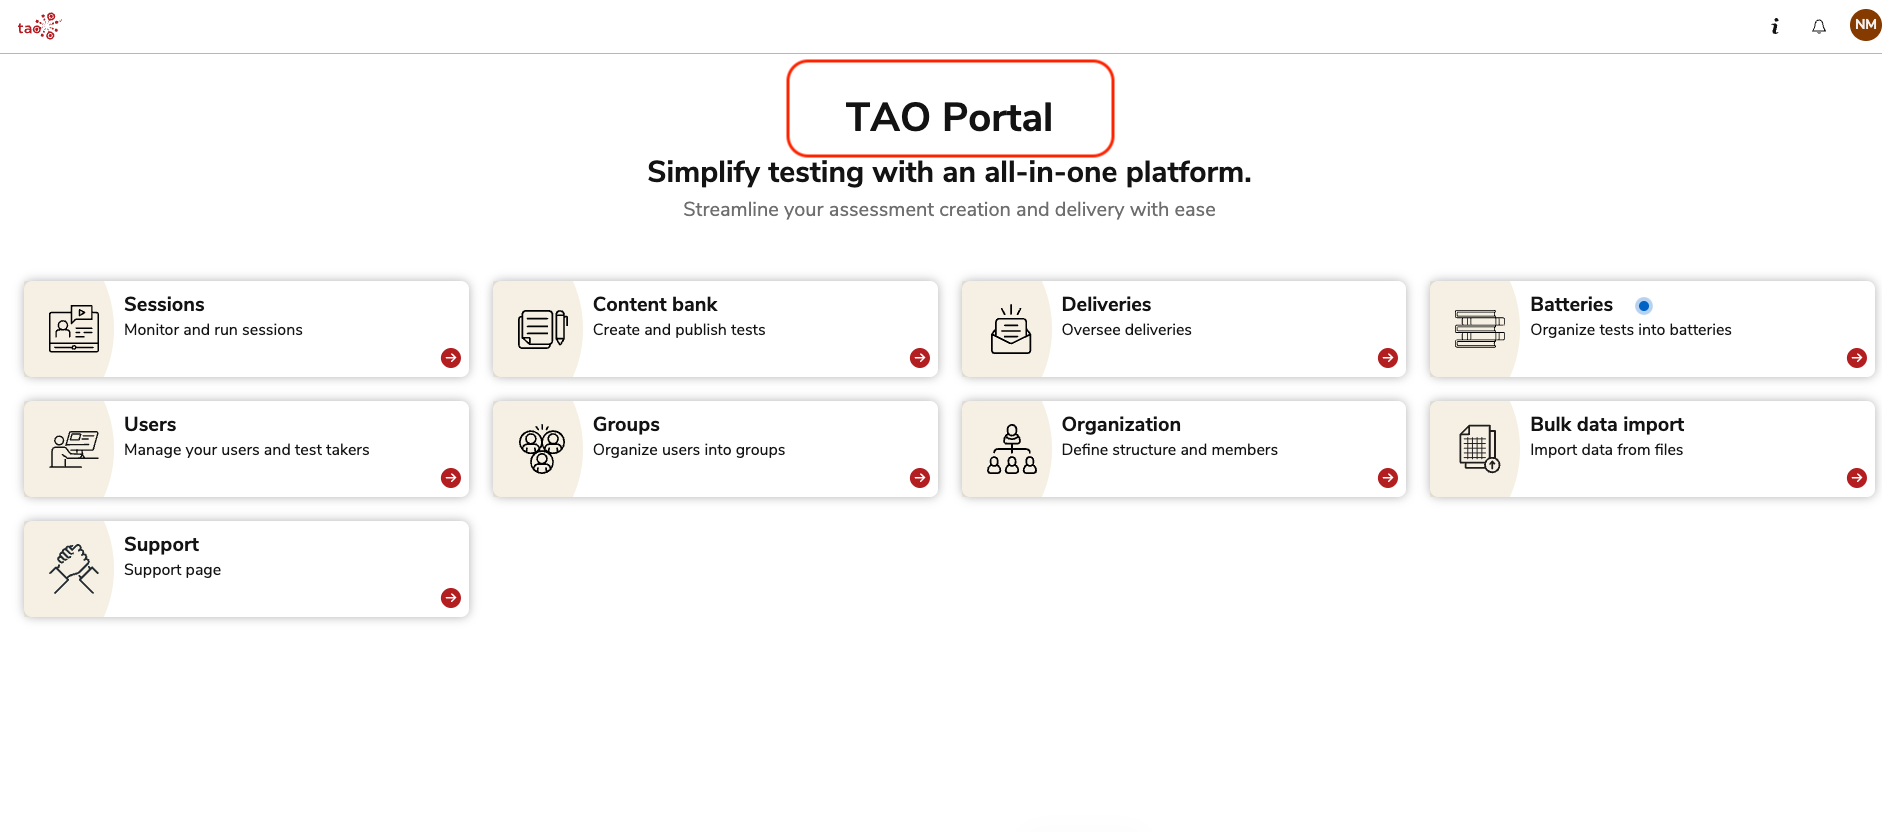
Product name: Enter the name of your organization (TAO Portal by default)
-
Login page title: Edit this text, which will display above the username and password text boxes.
-
Corporate title: This text displays to the left of the username and password text boxes.
-
Corporate text: This text displays to the left of the username and password text boxes.
-
Font Family: Add a font family. To revert to the default font, erase any text in the font family text box and save your changes. The example below is Times New Roman.

Links and logo
-
Display login page links: Toggle this option on or off to display the TAO-branded links on the login page (i.e knowledge base, service desk).

-
Make logo bigger: Toggle this option to enhance the logo that appears in the top-left corner of the interface.
If you choose to enlarge the logo, the ribbon will display as “floating”, with the background image showing on either side of it.
Color fields
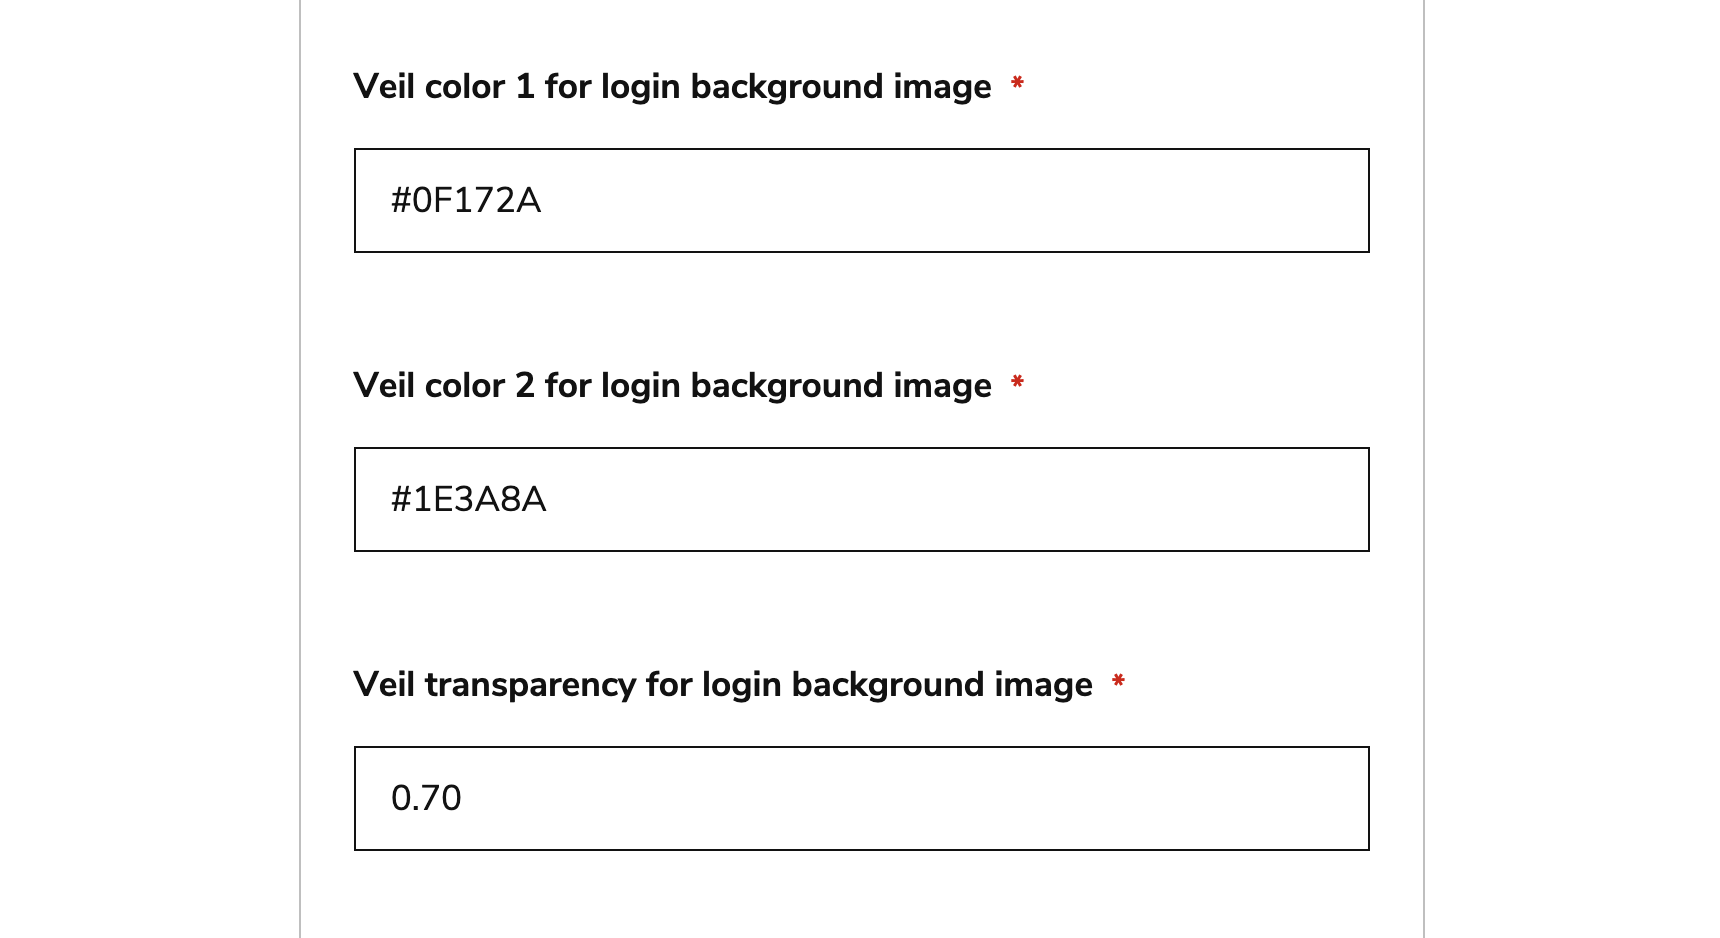
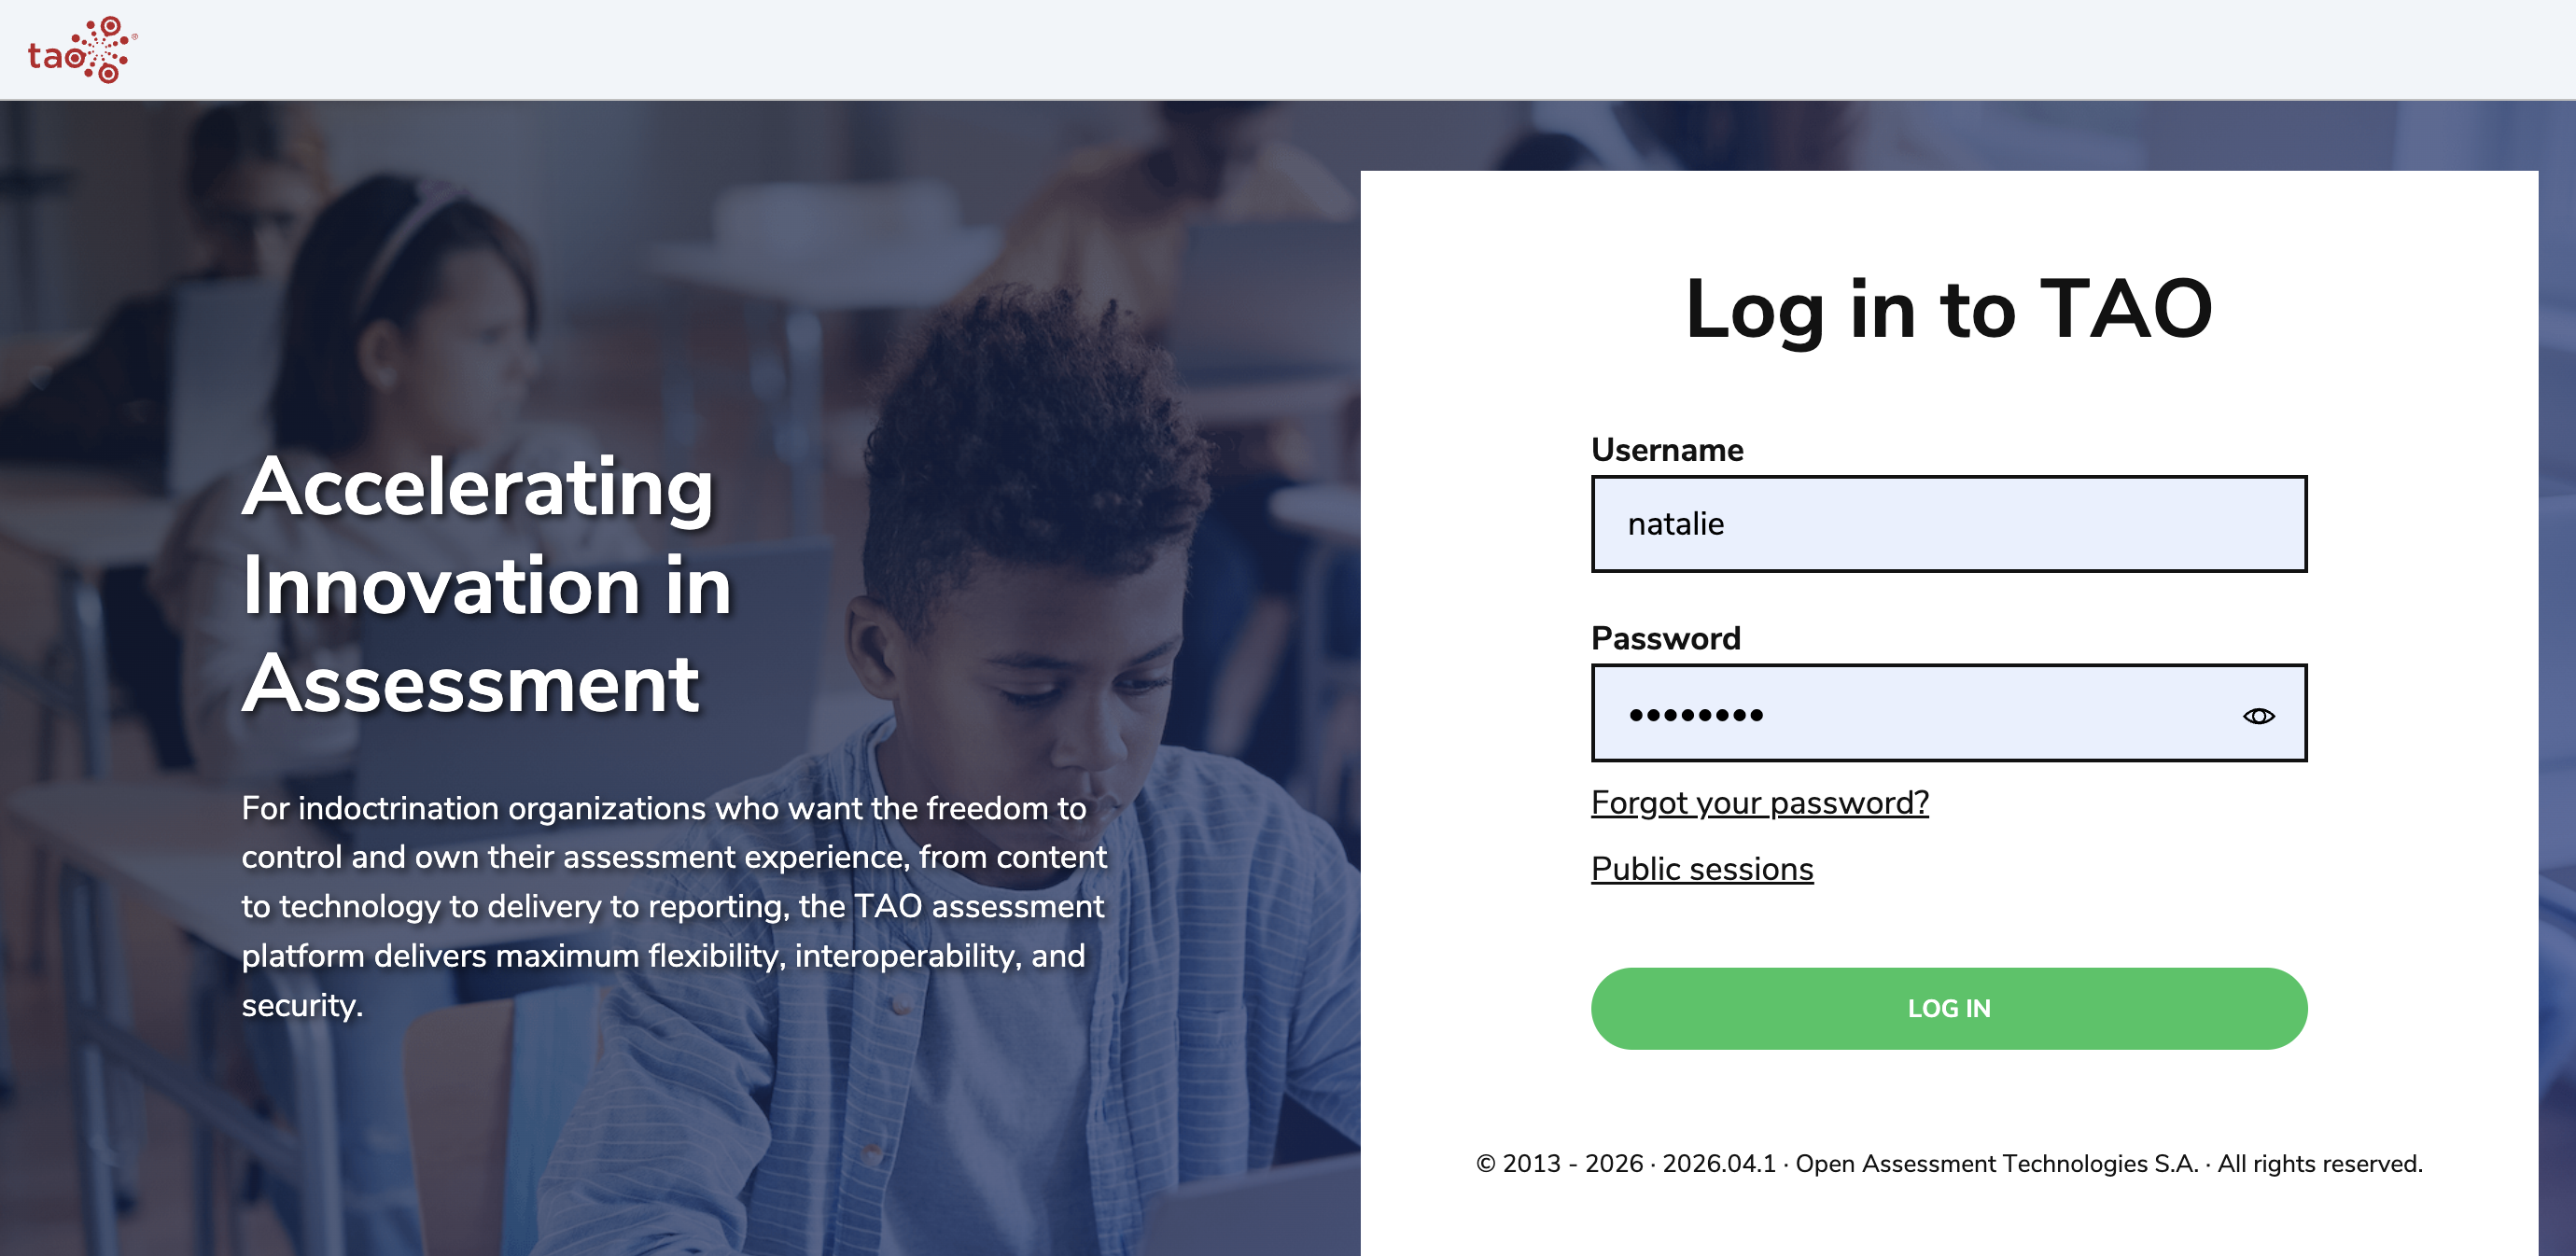
Veil colors for background image
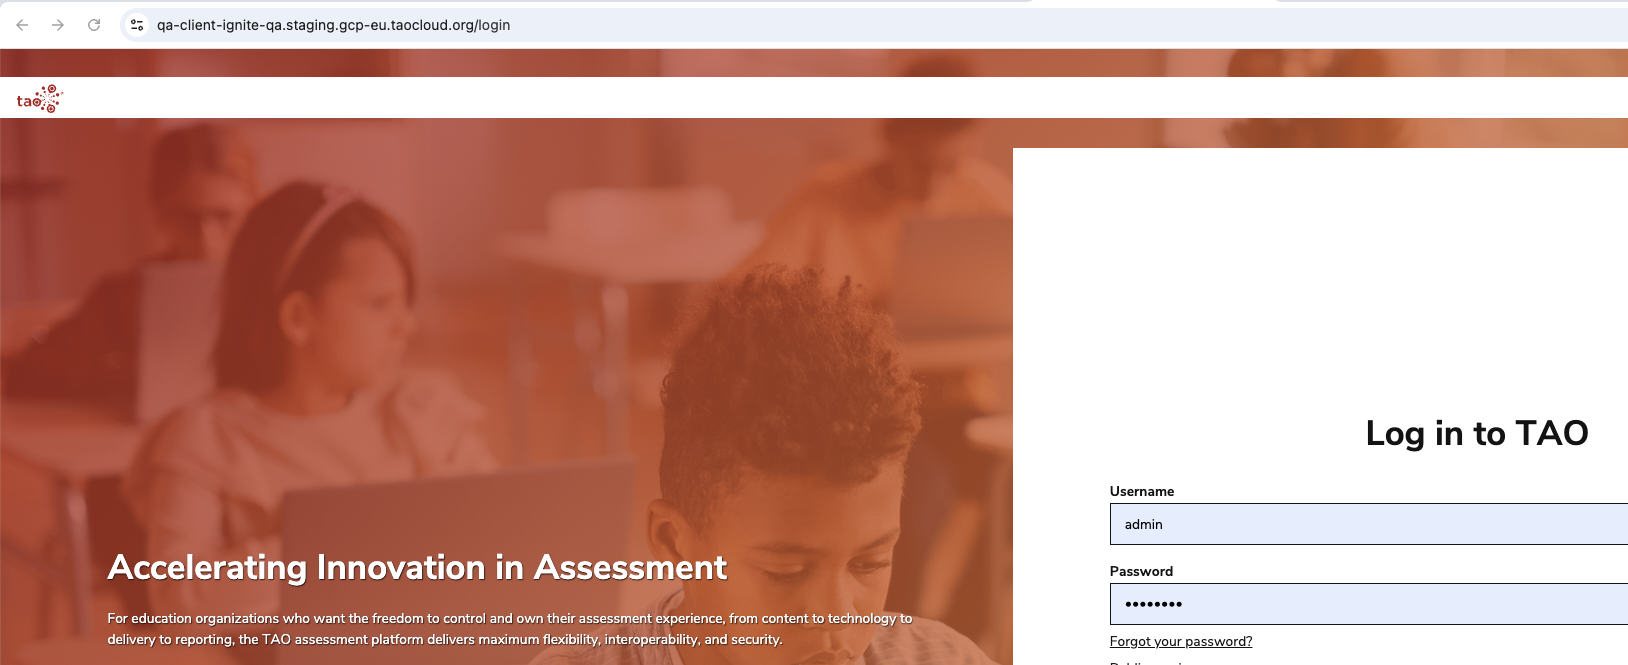
These fields customize the color(s) that veil the image displayed on the login page, as well as how transparent the veil(s) should be.
-
You can add up to two veil colors.
-
These colors must be added as hexadecimal HTML color codes (#xxxxxx).
-
For Veil Transparency, add a decimal between 0-1 in the following format (
0.30for 30% transparency).
Background colors
-
Top ribbon color: Adjust the color of the banner at the top of the interface. This color must be added as hexadecimal HTML color codes (#xxxxxx).

-
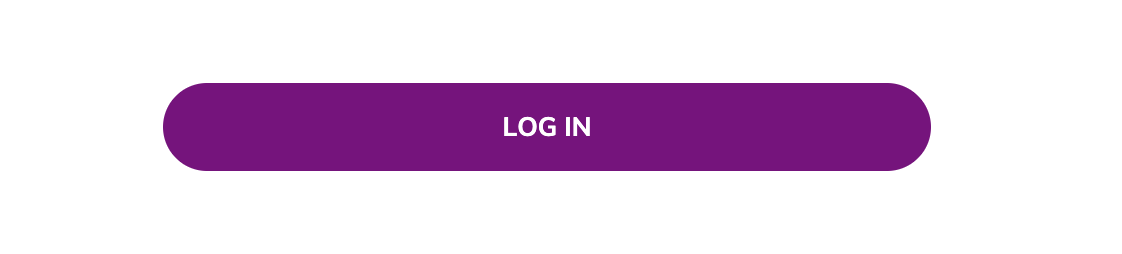
Login button background color: Adjust the color of the login button. This color must be added as hexadecimal HTML color codes (example below #800080).
Login forms
Select Single login form to display the same (generic login) for all TAO users. This option is the default.
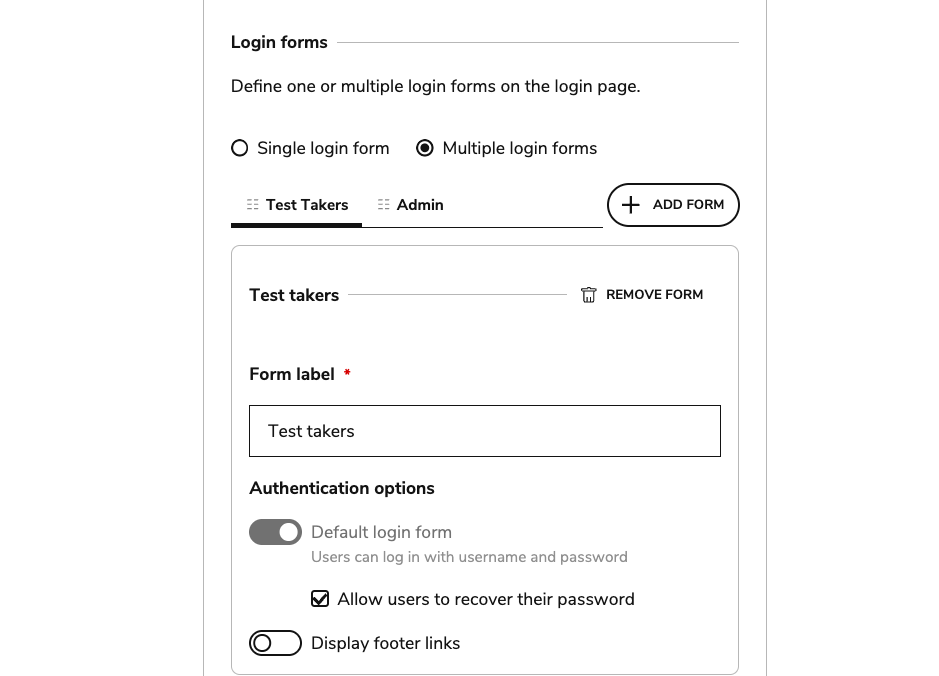
Select Multiple login forms to provide individual login pages for different types of TAO users:
-
In the form that displays, add a label (such as “Test taker”)
-
Configure the authentication options for that login form (see section below)
-
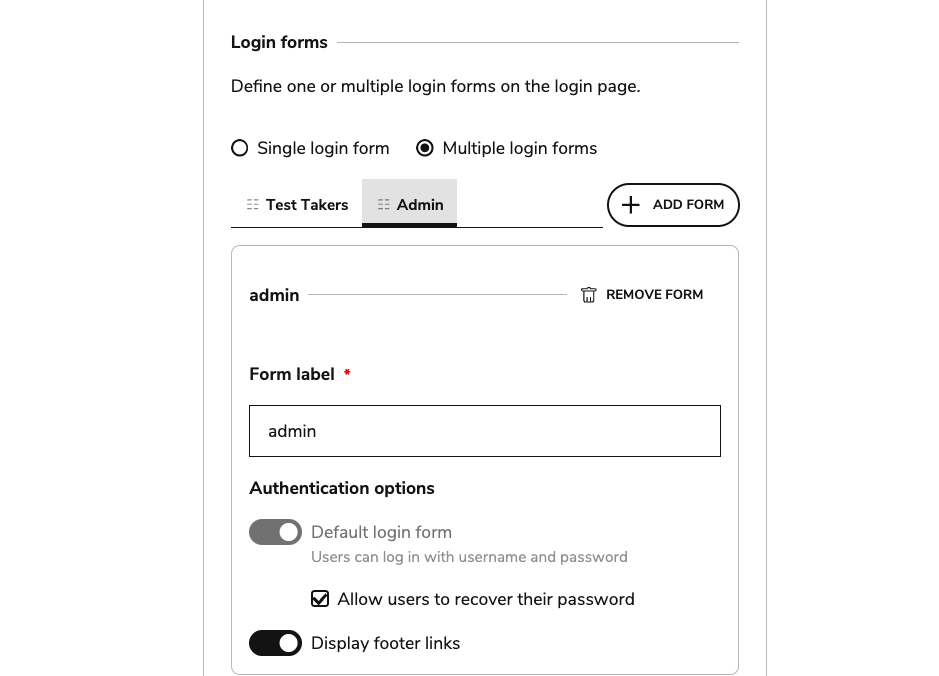
Click Add form to configure a secondary login form (such as “Admin”)
-
Configure the authentication options for that login form.
-
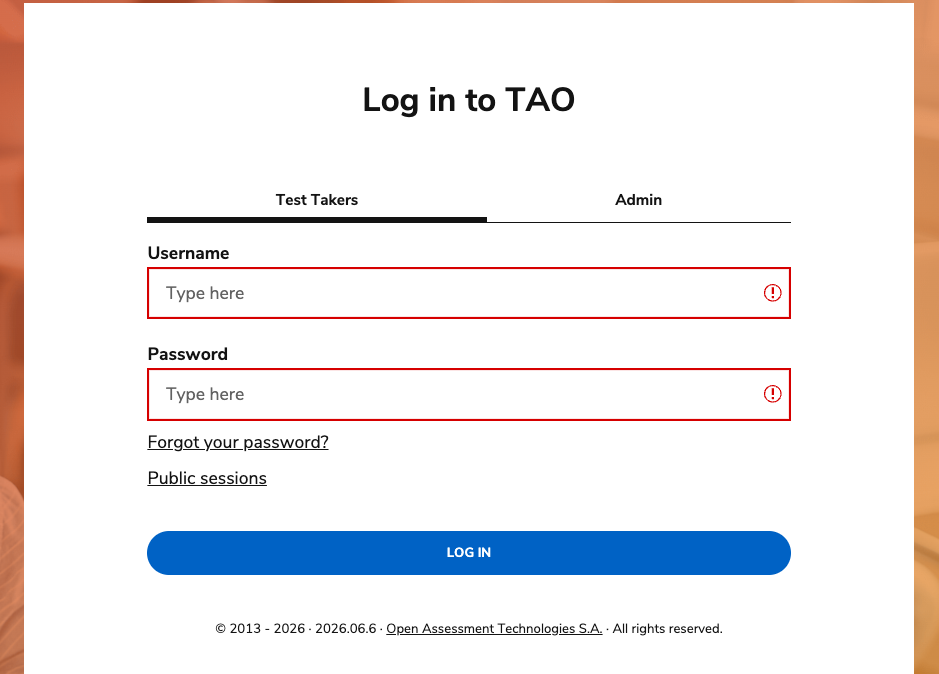
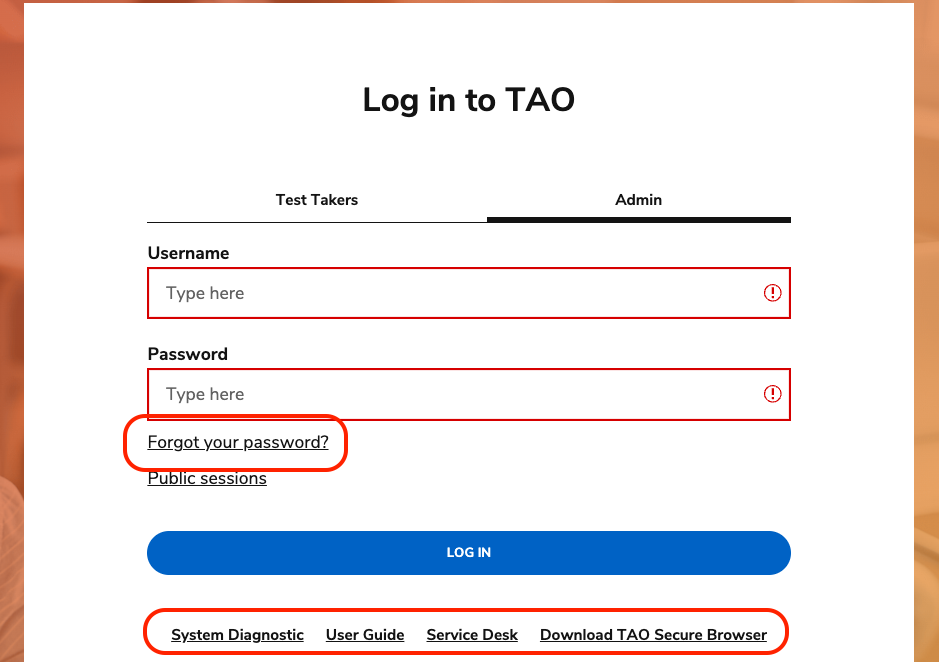
Once multiple login forms have been created, they will display as separate tabs on the login page.
Authentication options
Password recovery and footer links are configurable per login form.
Images fields
The following images may be customized:
-
Login page background image
-
Logo image (displays in top-left corner of the Portal)