
This article describes how to manage saved search filters.
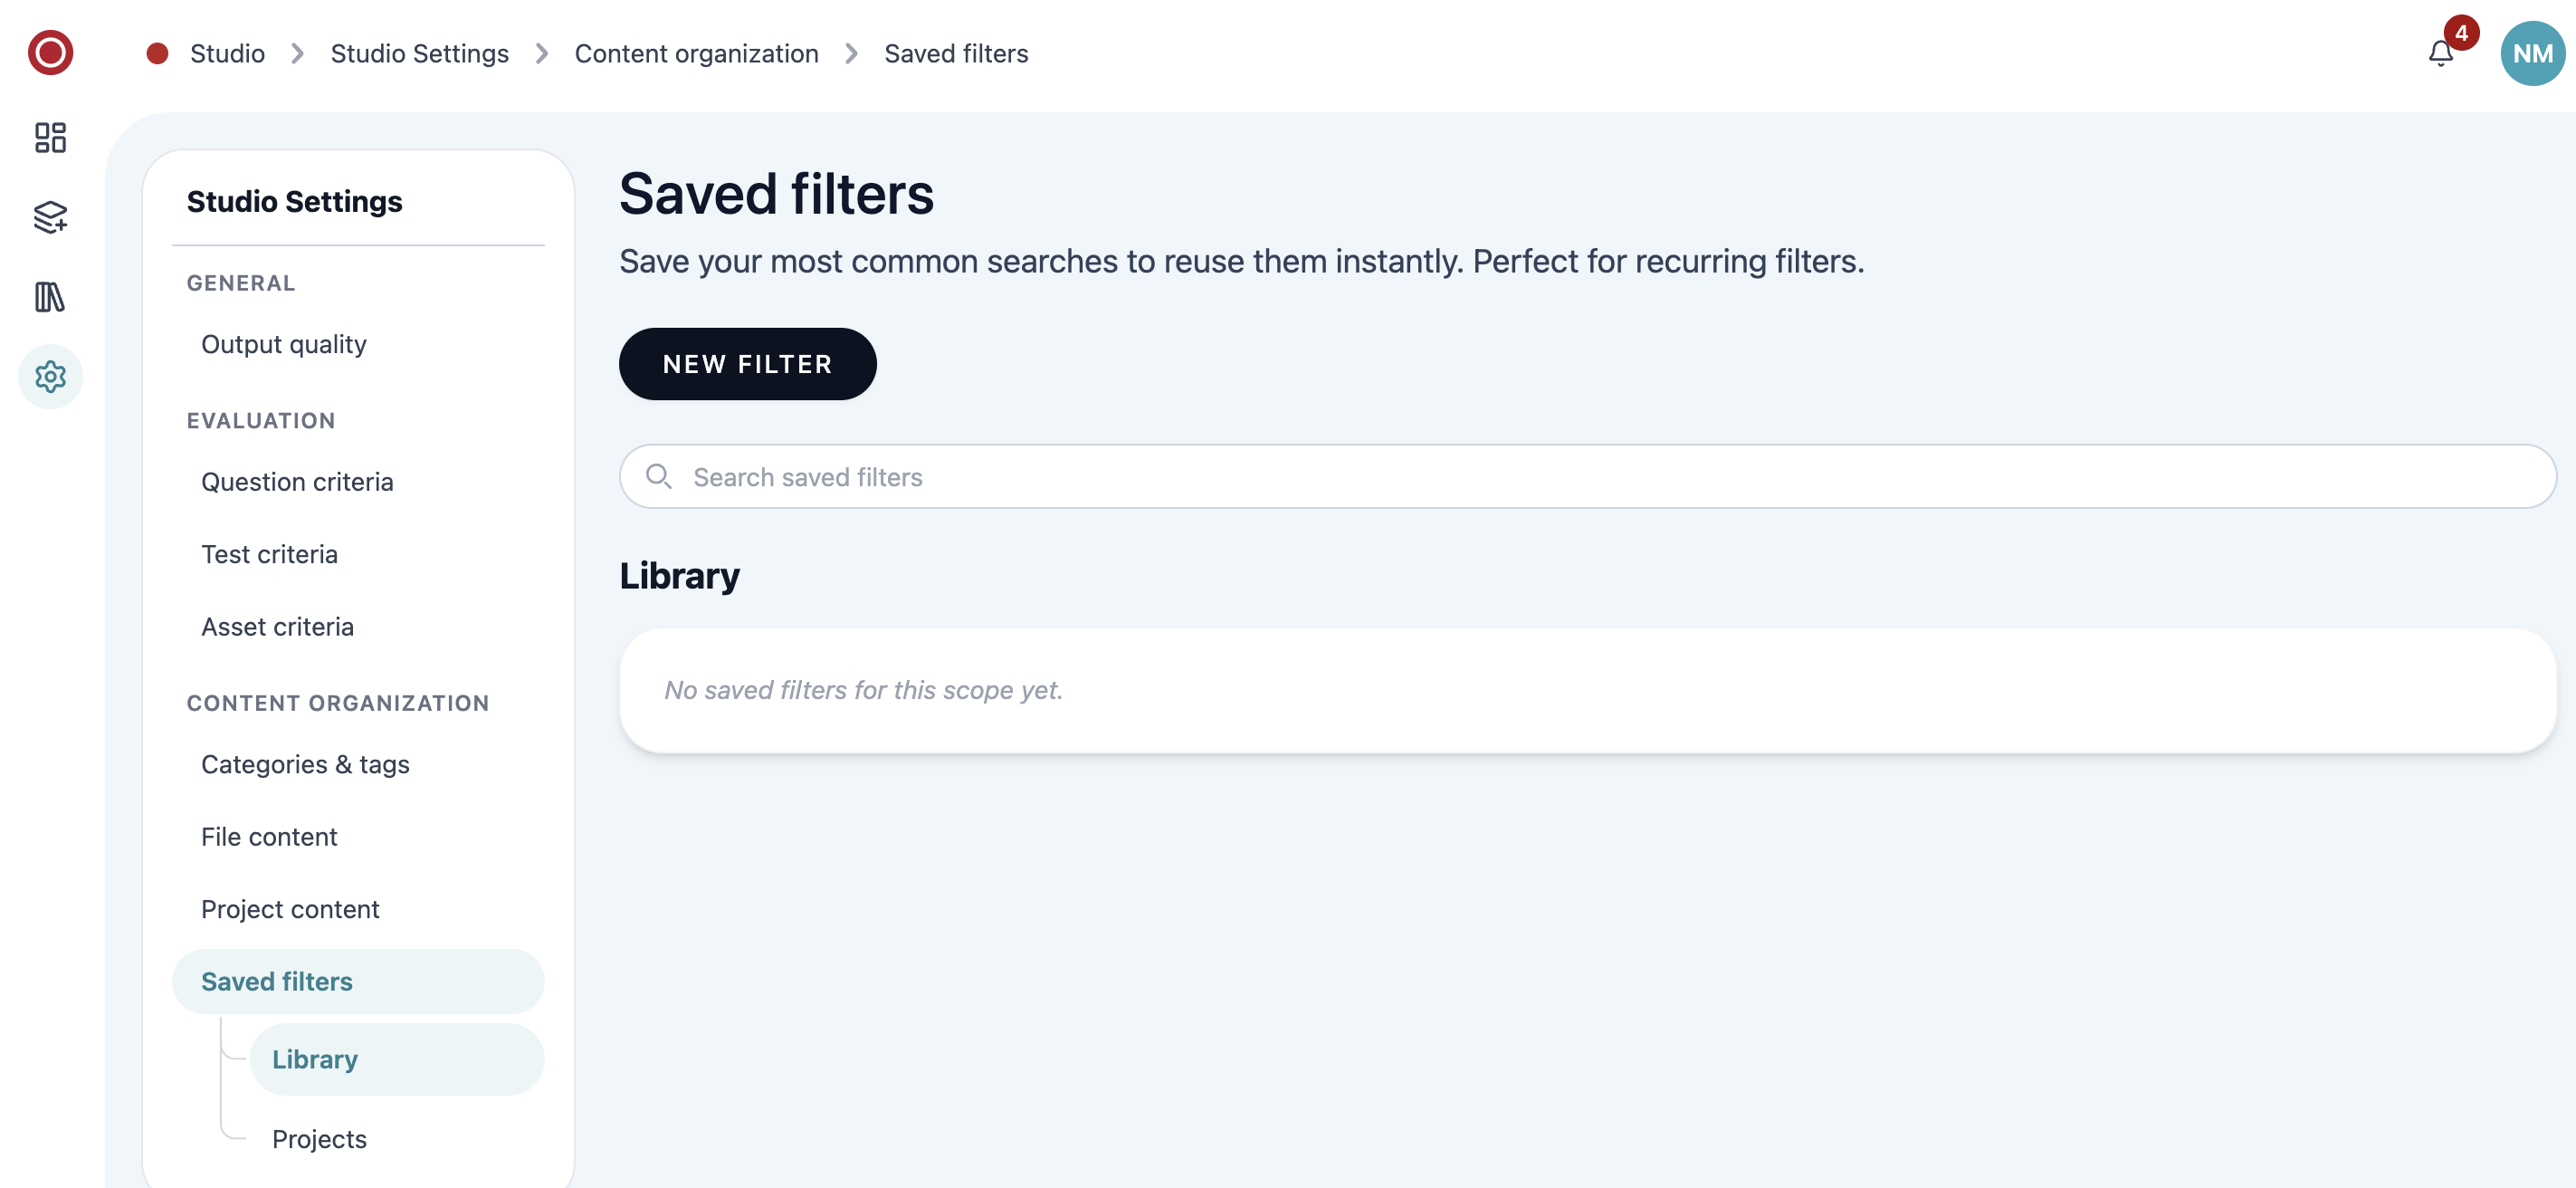
Saved filters are managed in Studio Settings > Content organization > Saved filters. They are useful for repeated views, such as a subject review queue, a source-specific collection, or a quality-control list.
-
Open Studio Settings from the side navigation.
-
Go to Saved filters under Content organization.
-
Select New filter.
-
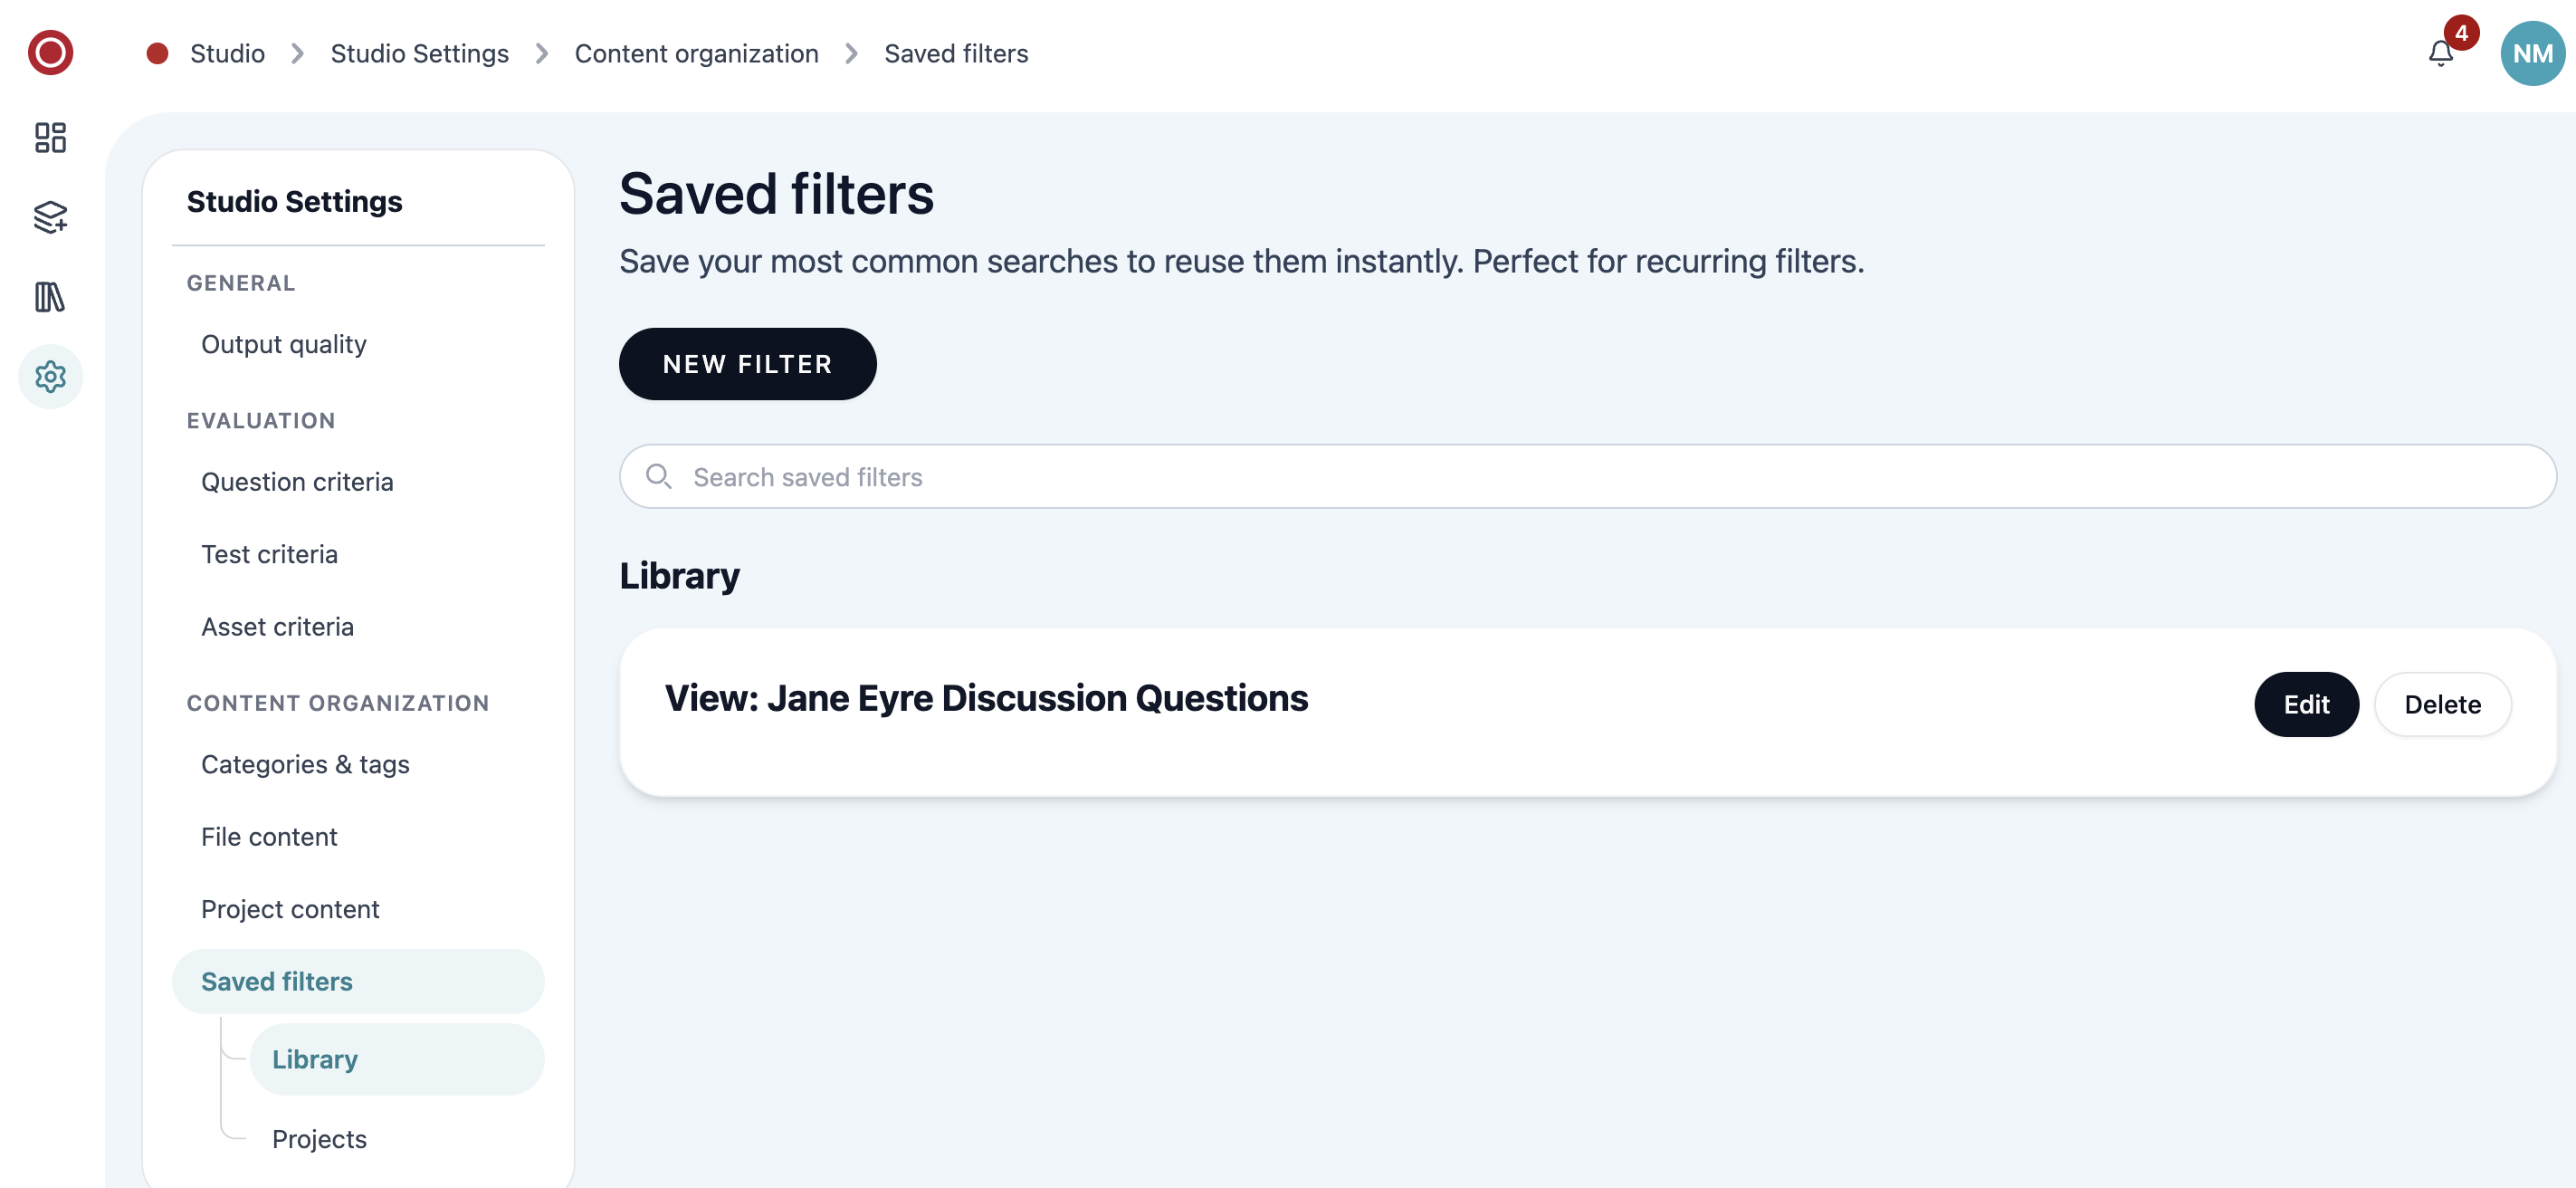
Enter a clear name, such as View: Jane Eyre Discussion Questions.
Use names that describe the practical use of the view, not only the tag values.
-
Choose whether the filter is private or can be shared with others in your organization.
-
Save the filter.
-
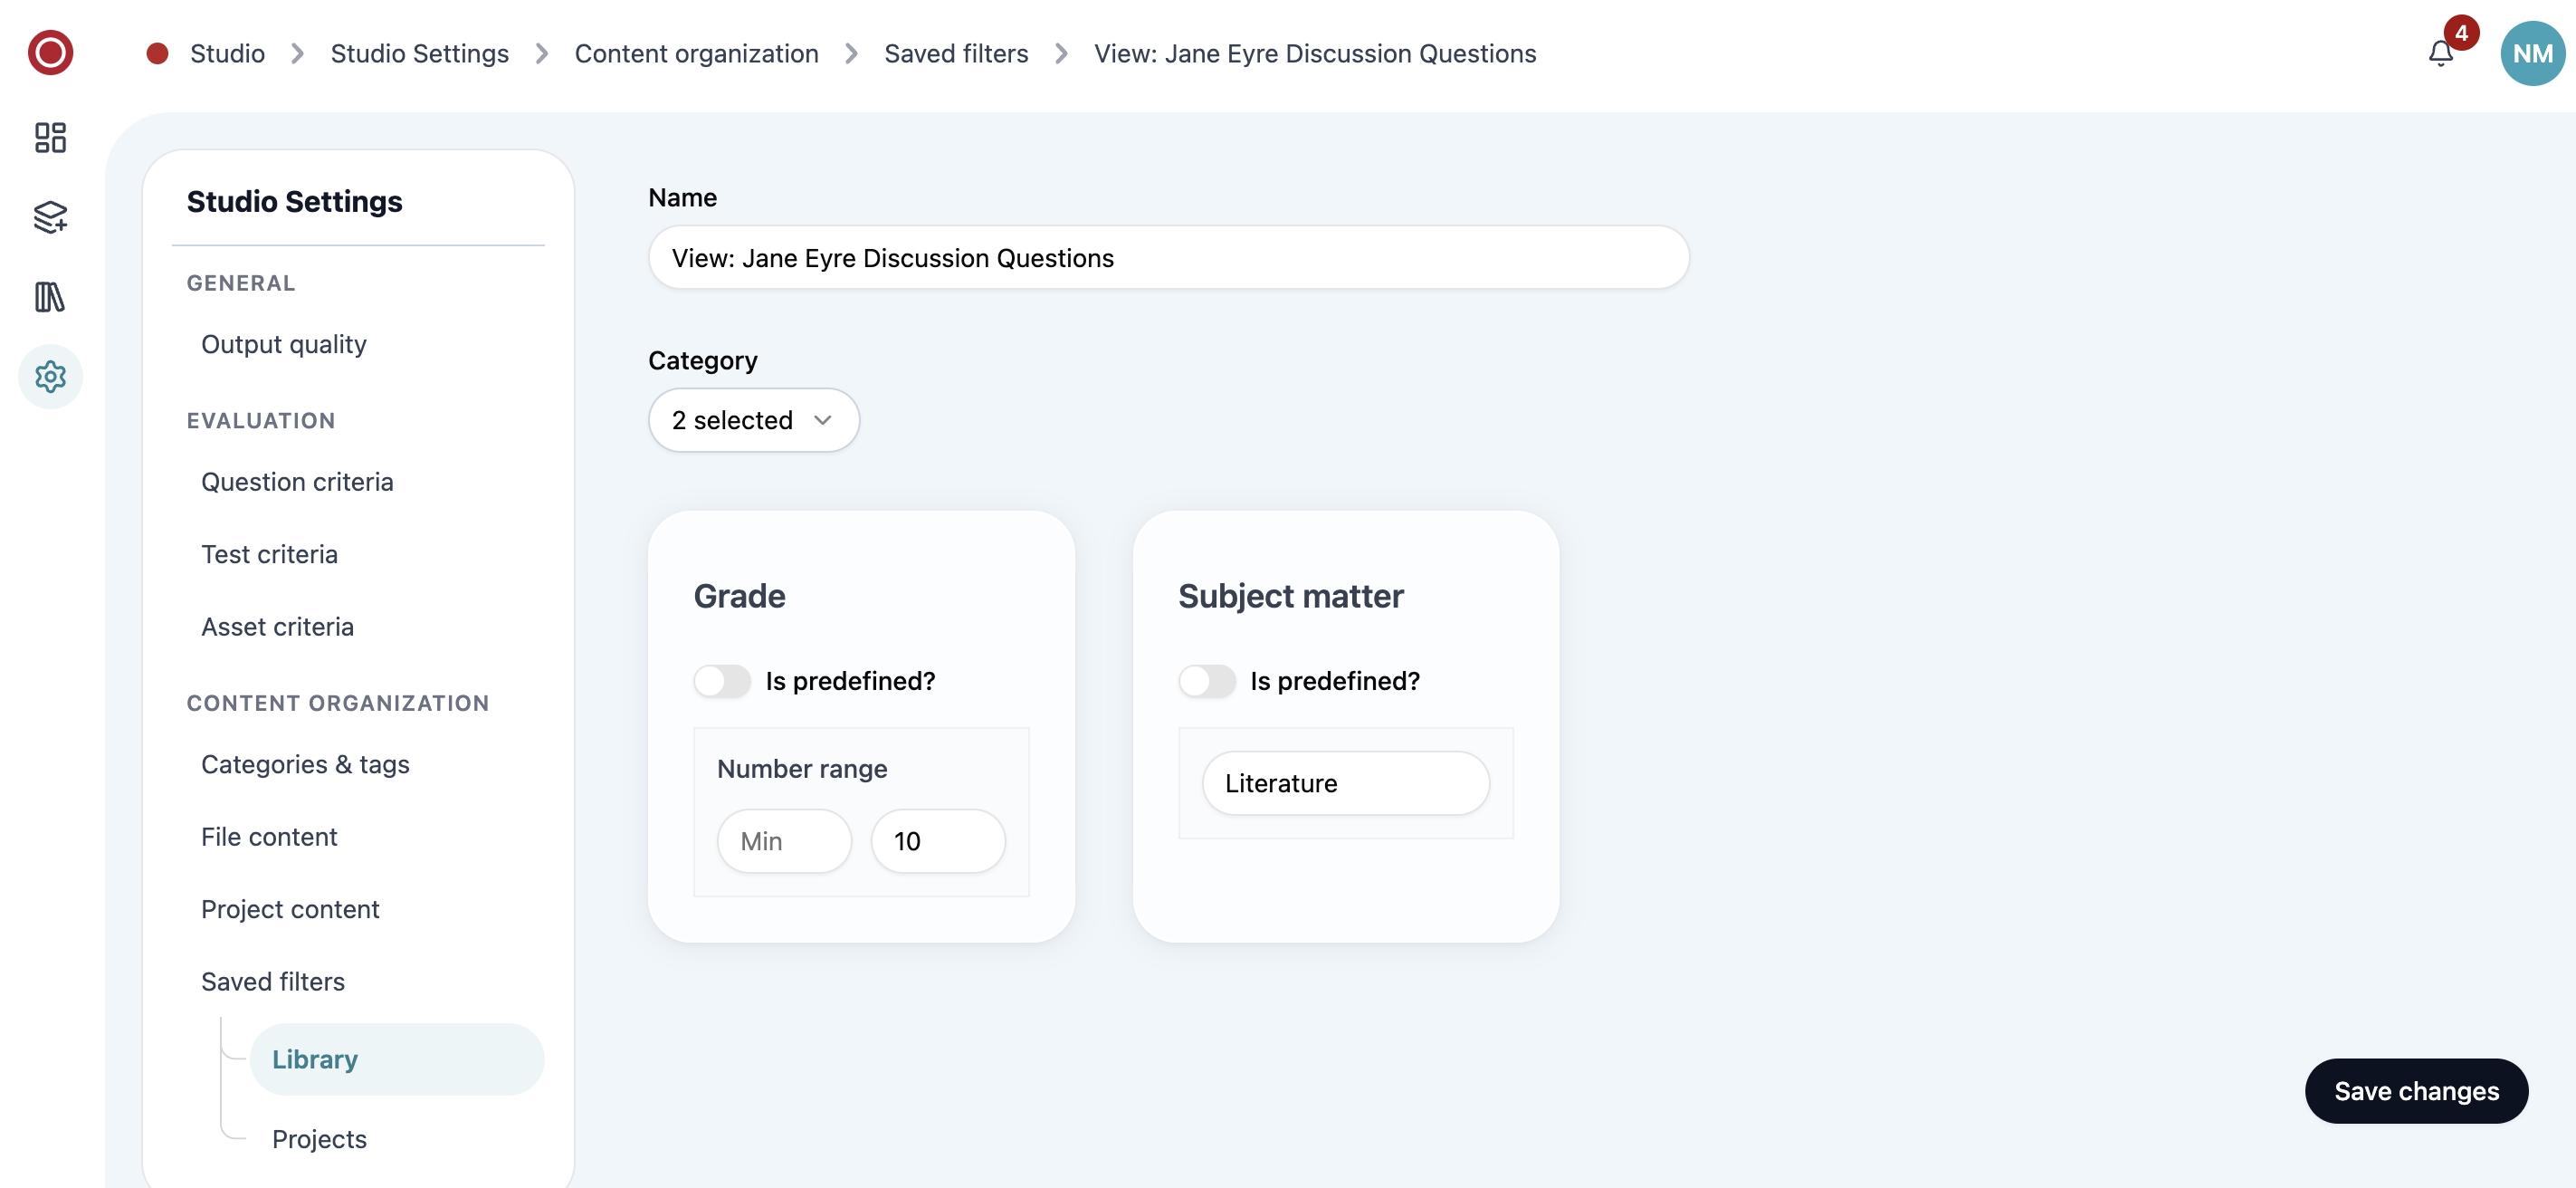
Edit the saved filter later to assign the categories and tags that should define the view.
-
You can add multiple categories to the same filter:
-
Click Save changes. To learn how to use these filters, see Searching for content.