
This article describes how to create paper based sessions.
1. As an admin, enter the Sessions module of the Portal.
Follow the process of creating a session.
2. Under Paper-based options, select Paper-based session.
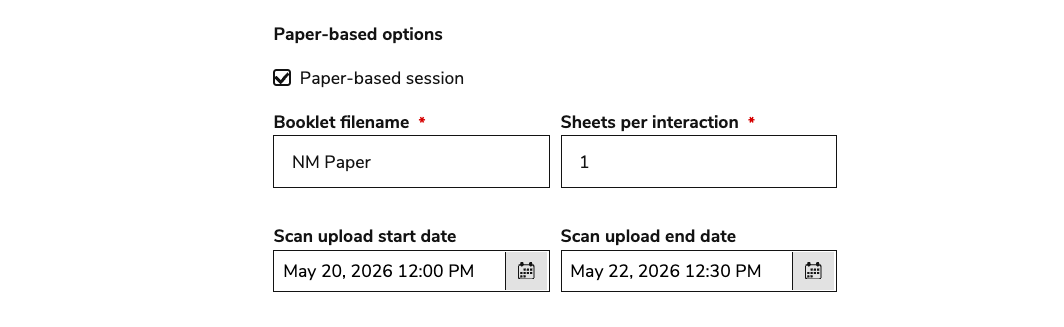
Populate the following fields:
-
Booklet filename (mandatory): PDF booklet filename. Enter the text (i.e, Grade 9 English)
-
Sheets per interaction (mandatory): Number of response sheets per item. Add a numerical value (must be at least 1).
-
Scan upload start date: This field determines when Scan Uploader users can begin uploading completed responses.
-
Scan upload end date: This field determines when Scan Uploader users can no longer upload completed responses.
Complete any other session configuration options. These will apply to what the test taker sees in the online portion of their test. Click Create Session.
3. Enter the Paper sessions module of the Portal.
You will see the newly created paper session listed. From this view you can enter the session or generate a booklet.
CSV import
Paper-based session CSV fields
Paper-based sessions are uploaded via CSV. For more information on how to format and upload CSV files, see Importing data via CSV file.
The session CSV template you choose (see section below) must have the following fields configured to enable paper-based testing:
|
CSV column |
Description |
|---|---|
|
|
Enter the name of the session. |
|
|
The ID of the linked delivery or battery. |
|
|
Enter the name of an existing group. If you chose the |
|
|
Enable (1) or disable (0) paper mode. This is required. |
|
|
Number of response sheets per item. Add a numerical value (must be at least 1). Example: 2 for draft + final sheets. Sheets are numbered and scorers will see them in order. |
|
|
The number of interaction’s that will be used in the paper-based segment. |
|
|
PDF booklet filename. Enter the text (i.e, |
|
|
Start of scan upload window. Uploads are allowed after this date. Add as a ISO 8601 date-time string ( |
|
|
End of scan upload window. Uploads are not allowed after this date. Add as a ISO 8601 date-time string ( |
Linking to an existing group
-
Assign new or existing users to a new or existing group with the correct paper-based session roles.
-
Follow the instructions in Assigning user roles for paper-based sessions.
-
-
Accessing the sessions CSV template:
-
Main menu → Bulk data import > Download CSV templates
-
Choose
sessions-with-delivery-in-existing-groups.csv
-
-
Configure the mandatory fields as described in Importing/updating a session (with an existing group).
-
Ensure that
group_nameis an exact match to the group created with the paper-based session roles.
-
-
Enable
session_paperMode_isEnabled(enter1as a value). -
Configure the other paper-based fields (described in the section above).
-
Follow the instructions in Importing data via CSV file to upload the file.
Linking to a new group
If you choose this option, you will need to assign paper-based session user roles to the new group after the CSV is uploaded. For more information, see Assigning user roles for paper-based sessions.
-
Accessing the sessions CSV template:
-
Main menu → Bulk data import > Download CSV templates
-
Choose
sessions-with-delivery-in-new-groups.csv
-
-
Configure the mandatory fields as described in Importing/updating a session (with a new group)
-
Enable
session_paperMode_isEnabled(enter1as a value). -
Configure the paper-based fields (described in the section above).
-
Follow the instructions in Importing data via CSV file to upload the file.
Important requirements
Before scans can be uploaded:
-
Test-taker sessions must exist and enrolled to the session
-
The test must be launched at least once