Applies to
-
Content developers
Prerequisites
-
Optional: A stylesheet file if you plan to upload a custom CSS stylesheet.
Purpose
The Style Editor allows you to customize the appearance of individual items by modifying colors, fonts, layout settings, and other visual elements. This guide explains how to use the Style Editor to adjust an item's styling or apply a custom stylesheet.
Steps
Important: Styling changes made in the Style Editor apply only to the current item.
1. Open the Style Editor
-
Open the item you want to modify.
-
Locate the Style Editor button in the Action Bar above the Properties panel.
-
Click Style Editor.
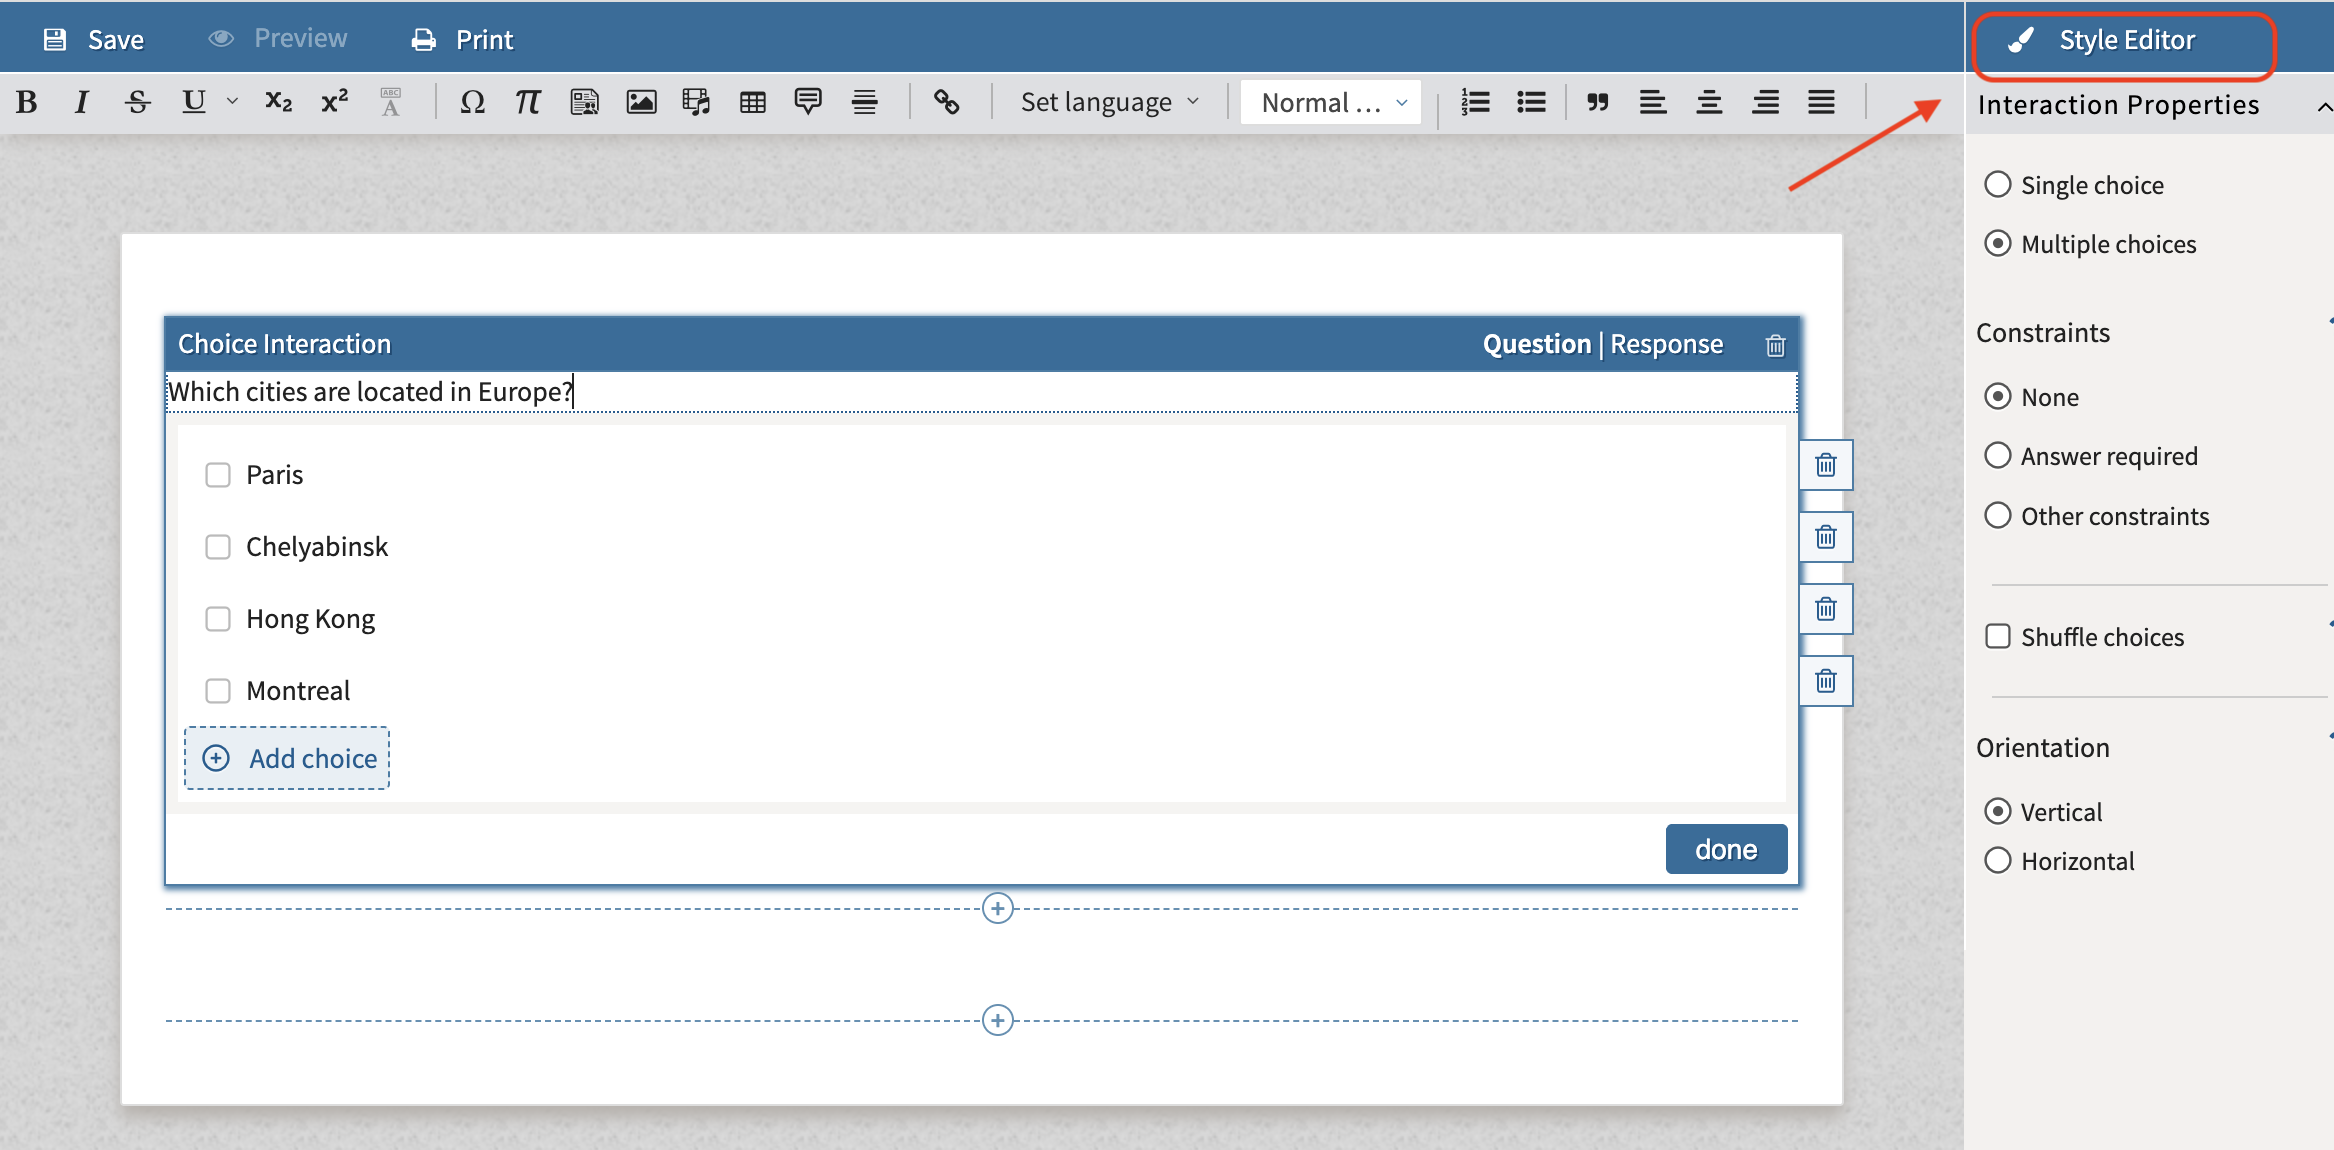
The Properties panel changes to the Style Editor panel, which contains two sections:
-
Style Sheet Manager
-
Style Editor
The Style Editor is intended for styling individual items.
2. Upload a custom stylesheet (optional)
If you already have a stylesheet file:
-
In the Style Sheet Manager, click Add Style Sheet.
-
Click Add file(s).
-
Select the stylesheet file from your device.
-
Upload the file.
The uploaded stylesheet can then be used to apply custom styling to the item.
3. Configure item colors
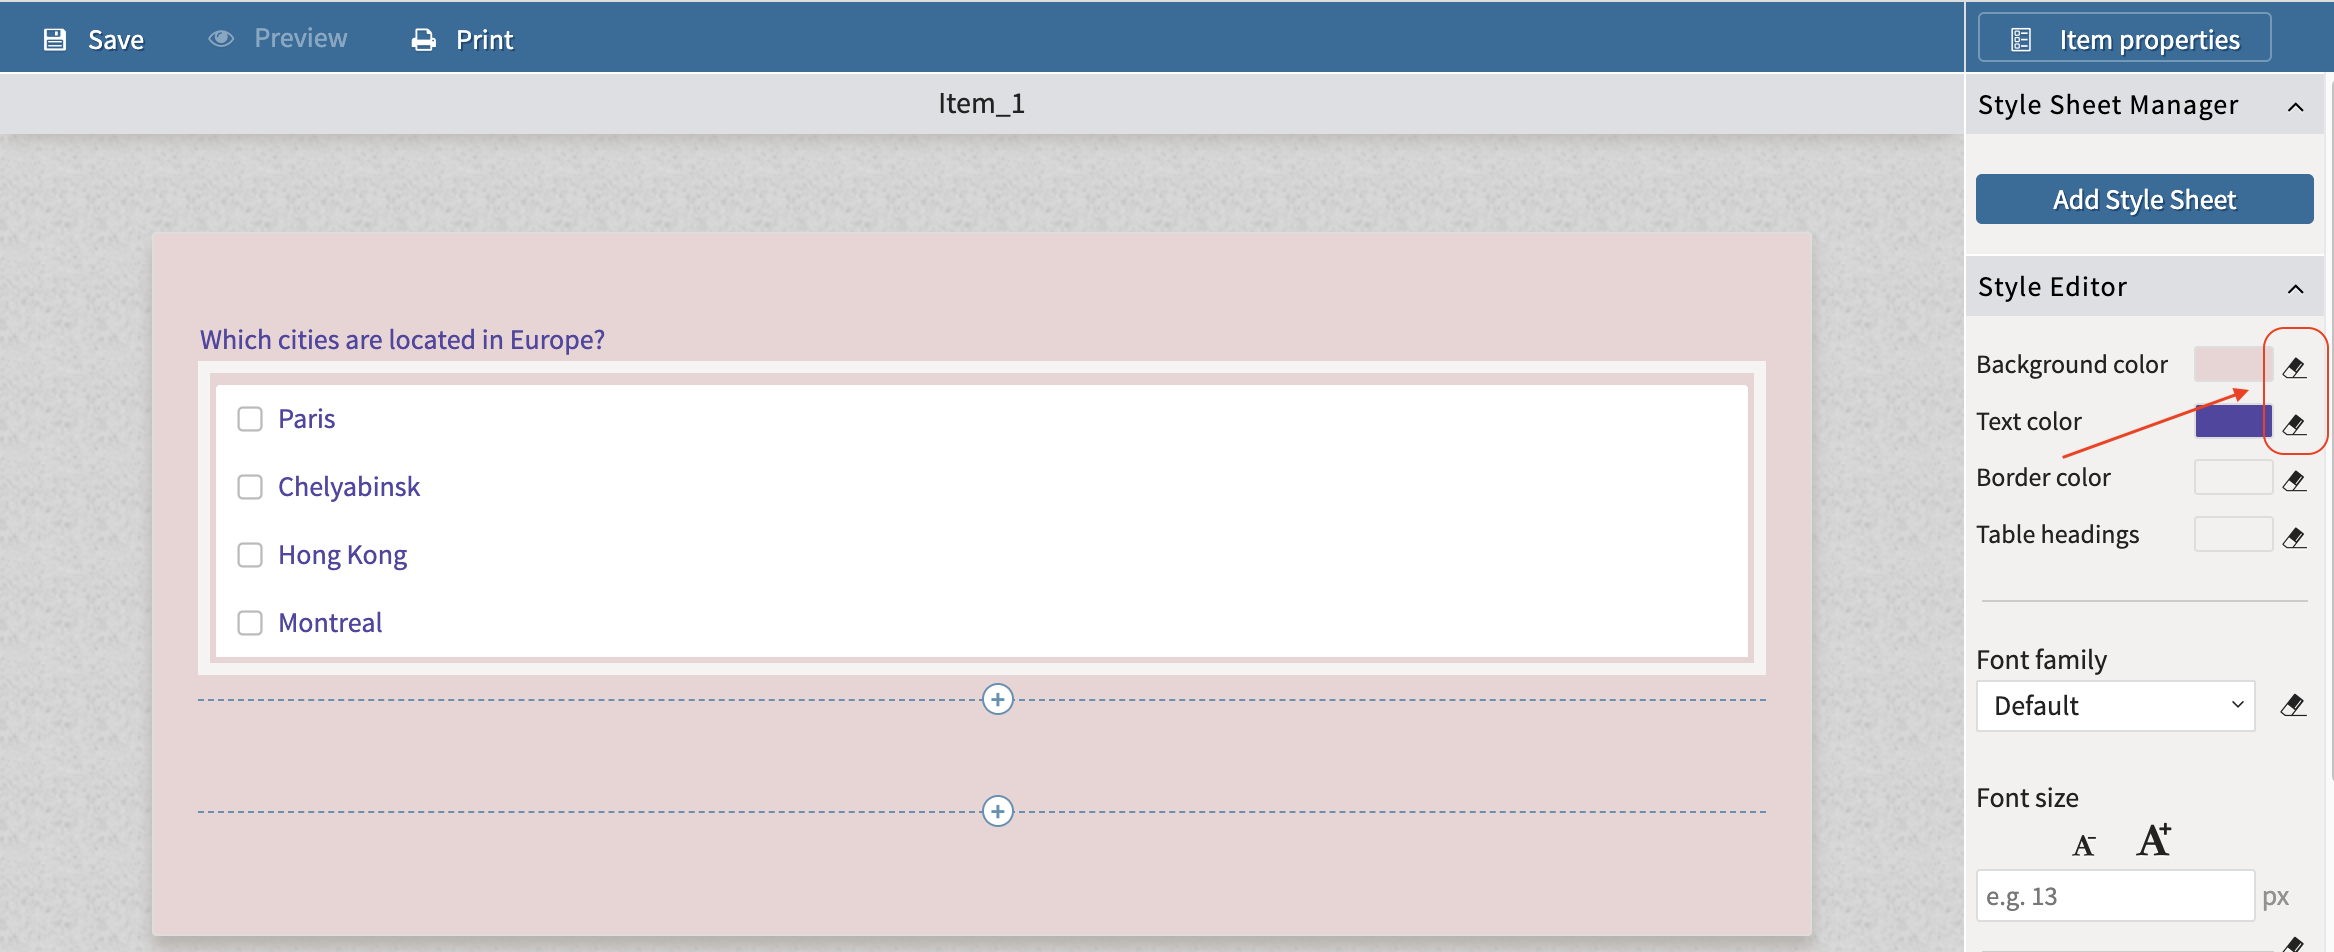
The Style Editor provides color controls for several item elements.
Style settings can be reset at any time using the eraser icon.
-
Locate the color settings in the Style Editor.
-
Select the color setting you want to modify:
-
Background color
-
Text color
-
Border color
-
Table heading color
-
-
Click the color swatch.
A color picker opens, allowing you to select a color visually or enter a specific RGB hexadecimal value.
Configure each setting as needed:
|
Setting |
Affects |
|---|---|
|
Background color |
The background of the entire item |
|
Text color |
All text within the item and its interactions |
|
Border color |
Borders surrounding interactions and item elements |
|
Table heading color |
Header rows in table-based interactions such as Match interactions |
4. Configure fonts
-
Locate the font settings in the Style Editor.
-
Select a value from the Font Family list.
-
Enter a value in the Font Size field.
You can also use the font size controls to increase or decrease the size incrementally.
Only fonts available in the font list can be selected directly. Additional fonts require a custom stylesheet.
5. Configure item width
-
Locate the Item Width setting. It is recommended to use Adapt to screen size.
-
Select Defined Width and enter a width value (in pixels) if a fixed width is required.
Important: The default width automatically adapts to the test-taker's screen size. In most cases, it is recommended to leave this setting unchanged to ensure the item displays properly across different devices and screen resolutions.
6. Configure layout settings
If your item contains multiple components, you can configure how they are displayed.
|
Scrollable multi-column |
This layout works well for items that display supporting content in one column and questions in another. When enabled:
|
|
Column Separator |
When enabled, a vertical line appears between columns to visually separate content areas. |
7. Restore default styling
If you want to remove a custom setting:
-
Locate the setting you want to reset.
-
Click the eraser icon beside that setting.