Related articles
Applies to
-
Administrators
-
Group Managers
Prerequisites
-
A delivery has been published in the Content Bank, or a battery has been created in TAO Portal (using two or more existing deliveries).
-
A group exists and contains the test takers who will access the session.
Purpose
This guide explains how to create a session and assign a delivery or battery to a group of test takers. Sessions control when assessments are available, who can access them, and which security, review, and accessibility options are available during testing.
Steps
1. Create a session
-
Open Sessions in TAO Portal.
-
Select Create Session.
2. Configure the session details
-
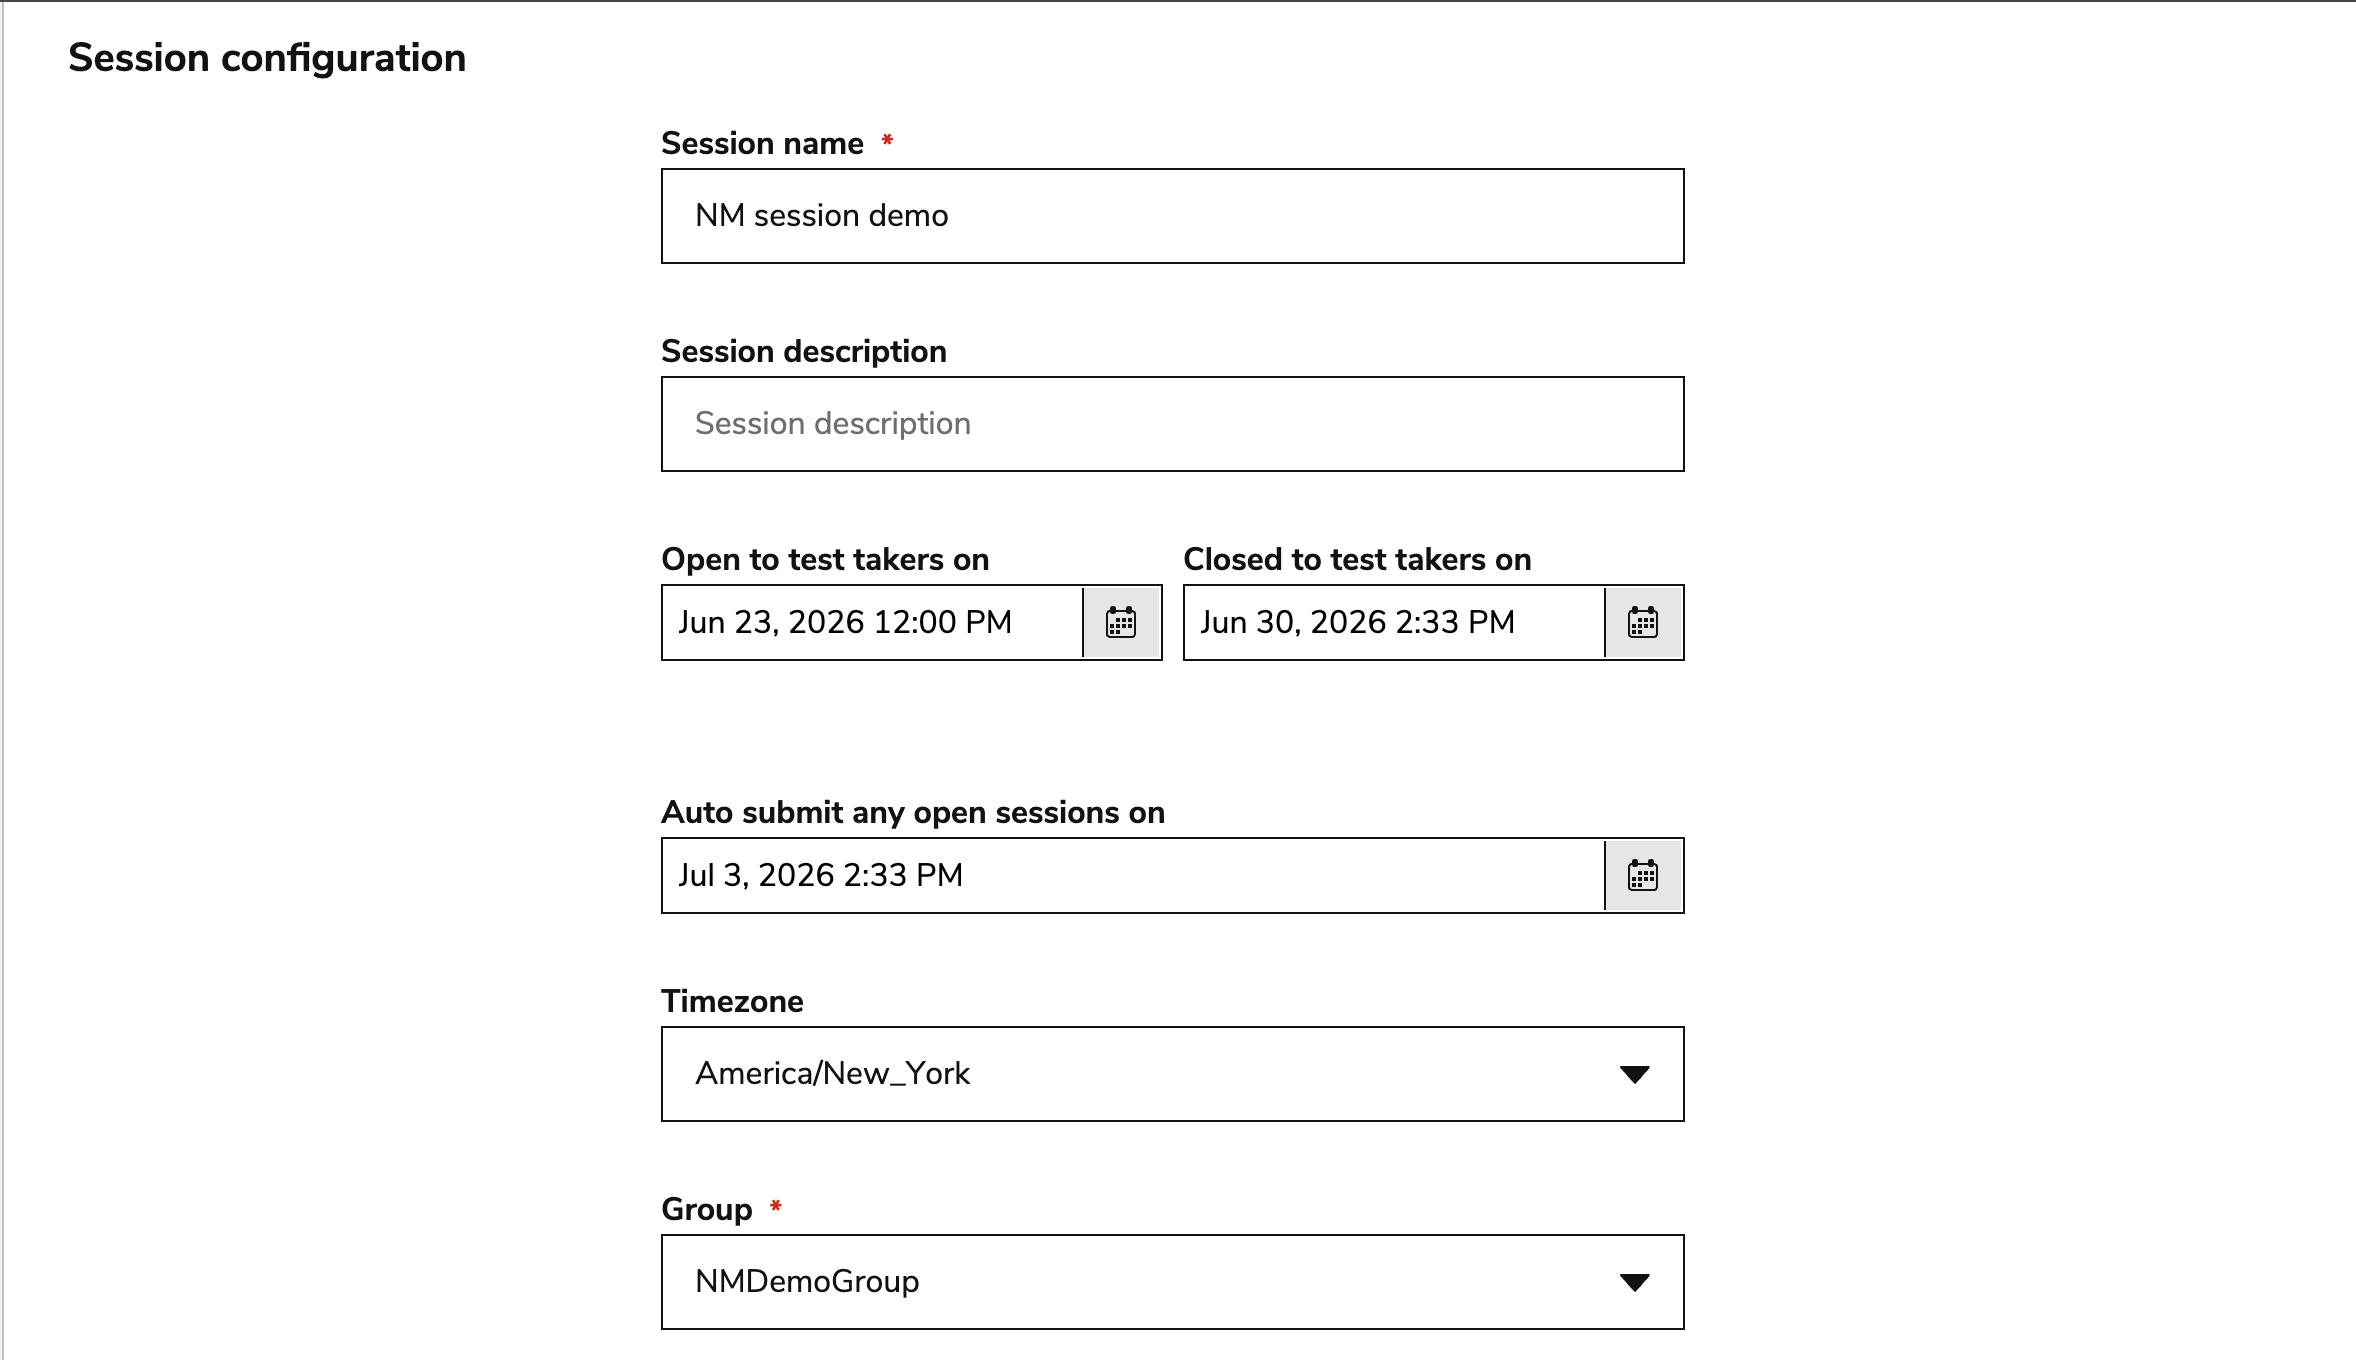
Enter a unique session name.
-
Optionally enter a description.
-
Configure the availability dates:
-
Open to test takers on: The date the session is available to test takers.
-
Closed to test takers on: The date the session is no longer available to test takers.
-
Auto submit any open sessions on: The date any in-progress sessions are submitted/closed. This must be after a closed session date.
-
Selecting a close date is not mandatory even if a start date is defined. If left blank, the session is available without any time limit.
-
Select the appropriate timezone.
-
Select the group that will access the session.
3. Assign a delivery or battery
-
Choose either Delivery or Battery.
-
Select the assessment from the list.
-
Optionally select Preview to review the content before creating the session.
4. Configure scoring options (optional)
Scoring options control how completed assessments are scored and reviewed.
Common options include:
|
Open/closed to scorers |
Scoring availability dates |
|
Score test takers anonymously |
Test taker names are not shown to scorers |
5. Configure session options (optional)
|
Hide print button |
Disables the ability to print during the session |
|
Session execution dates |
Select a date and time that all test takers will begin the session simultaneously Important: When the session execution start date is configured, the option to add an end date becomes available. The configured execution end date is for visual purposes only (for the custom waiting page, see below) and does not affect the actual ability to start the session. To set an end date for the session, see the Closed to test takers on option. |
|
Custom waiting page name |
Enter a name for the waiting page. This will appear if test takers attempt to begin the session before the designated session execution start date. |
|
Spellcheck |
Select Disabled from the dropdown to disable spellcheck on the test taker’s browser. The default is that spellcheck is enabled. |
6. Configure review and reporting options (optional)
Review options determine what test takers can see after they submit their assessment.
|
Enable review of finished sessions |
This box must be checked for the other review options to apply. |
|
Automatic review |
Displays the test review to the test taker immediately upon submitting the test. The test will also be available in Finished sessions after logging in as a test taker. |
|
View correct answer/scores |
Allows the test taker to see the correct answer as well as their score during the review. |
|
Show responses un-shuffled |
Applies only for admins/proctors/group managers. For sessions that contain tests with shuffled items/sections, the responses will display in the original order if this option is checked. |
|
Enable test takers to access a session report |
Test takers will be able to view a report (different from a review) of their session in Finished sessions. |
7. Configure security options (optional)
Security settings help control the testing environment.
Available options may include:
|
Require authorization to start |
Proctors must authorize test takers to start the assessment. This is done via the Live monitoring view (awaiting authorization tab), which can be accessed after entering the session. |
|
Require fullscreen |
The test taker must be in fullscreen mode for the duration of the session. |
|
Prevent right-click menu and keyboard shortcuts |
Disables the ability to right click or use keyboard shortcuts during the session. |
|
Prevent screenshot |
Prevents test takers from taking screenshots |
8. Configure accessibility options (optional)
Accessibility tools can be enabled to support test takers during the session.
Available tools may include:
-
Zoom
-
Contrast theme
-
Custom pointer
-
Text font and spacing
-
Read aloud
Only enabled tools are available during the assessment.
9. Create the session
-
Review the session settings.
-
Select Create Session.
-
Confirm the session creation.
The session becomes available to the selected group according to the configured dates and settings.
What happens next?
Once the session opens:
-
Test takers in the assigned group can access the assessment.
-
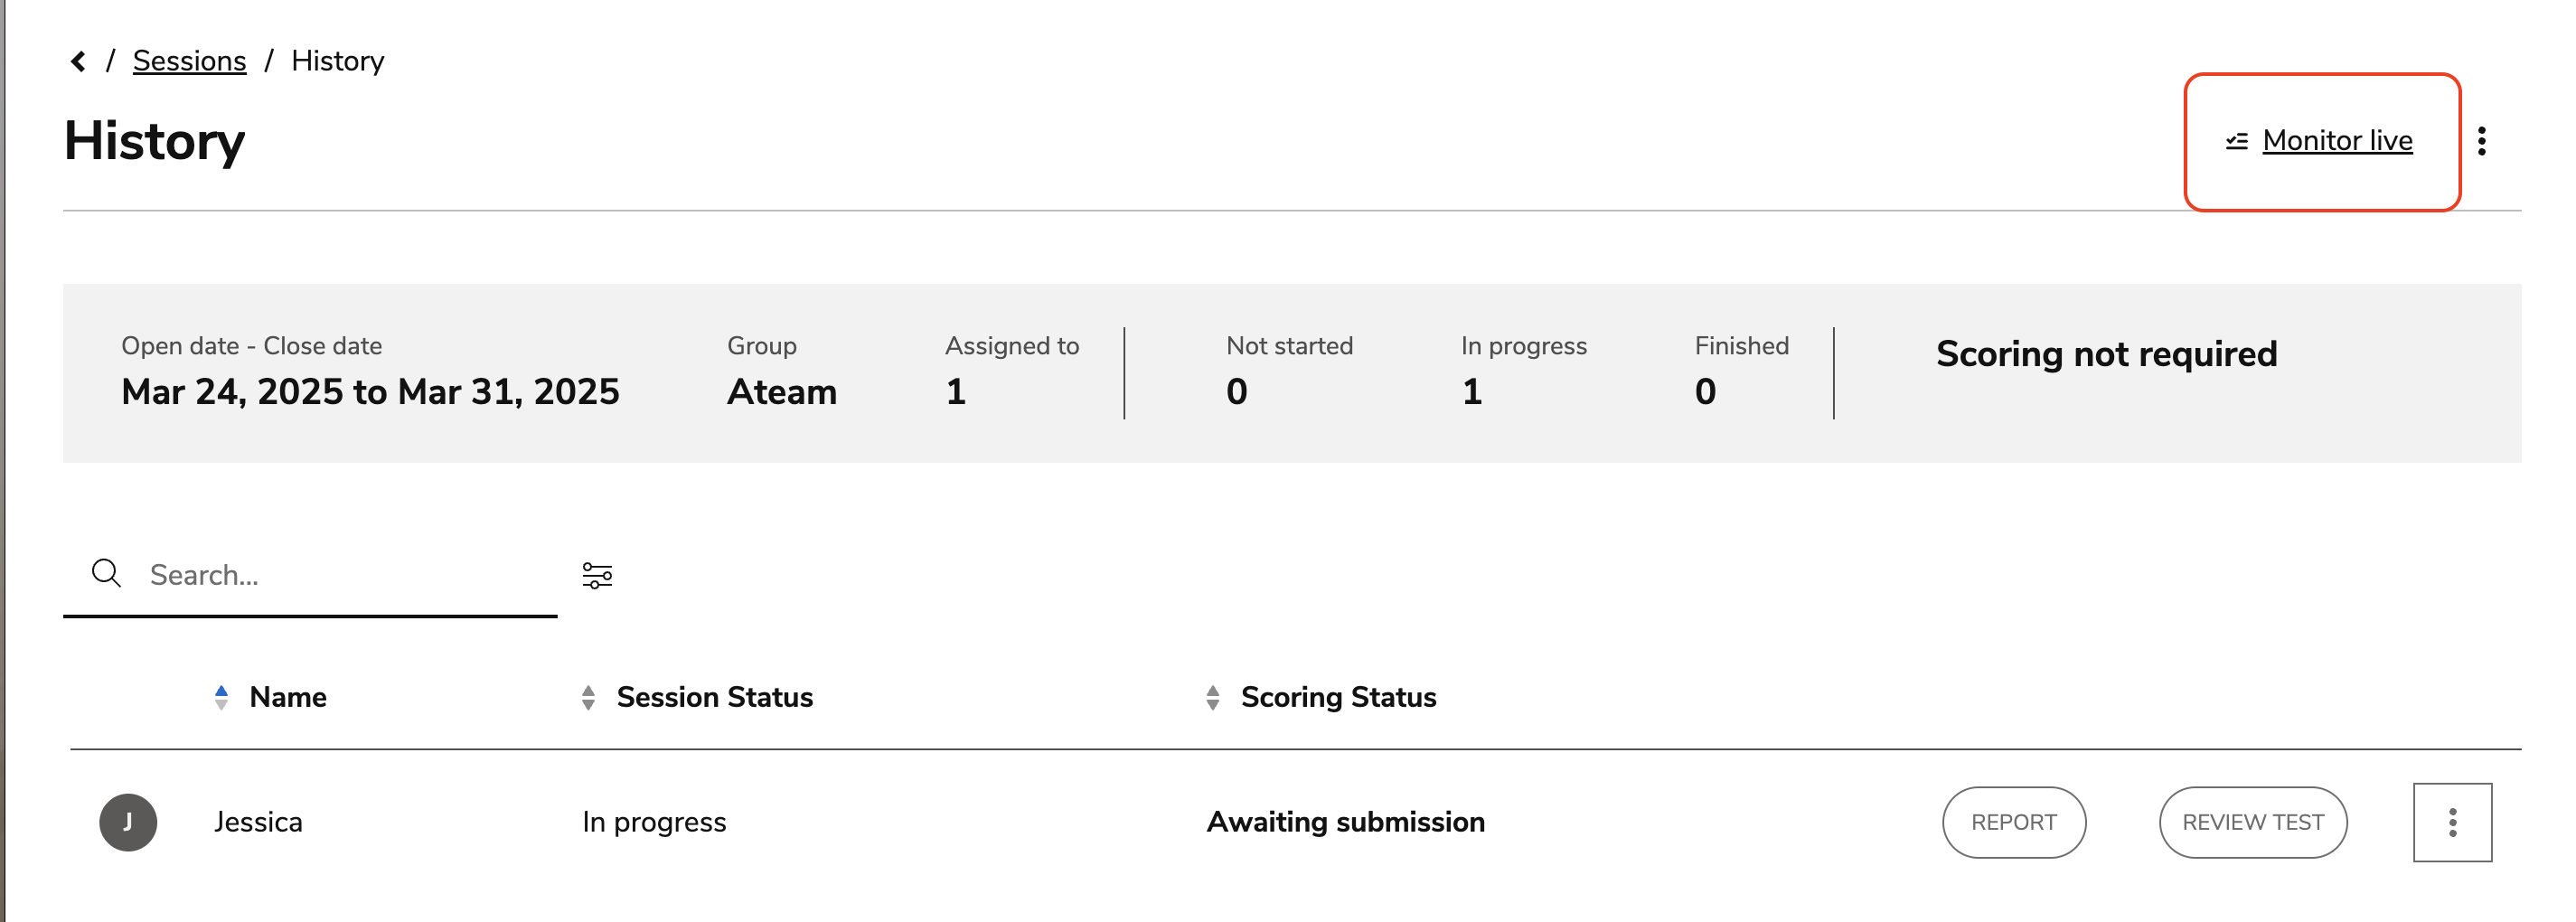
Proctors and administrators can monitor progress via the Monitor Live button in the session overview page.