
Once TAO has been installed on your server via composer (or the Windows Installer), you can either install TAO via the command-line as already shown or through the web installer as shown here.
Important: The features described in this section are deprecated.
To utilize the web installer, you will go to the hostname or IP of your server and to the location you configured in Apache. If you followed the instructions previously provided, point your browser to the following URL or adjust as necessary, according to your configuration:
http://<hostname or IP>/tao
On this page, you will see the following screen:
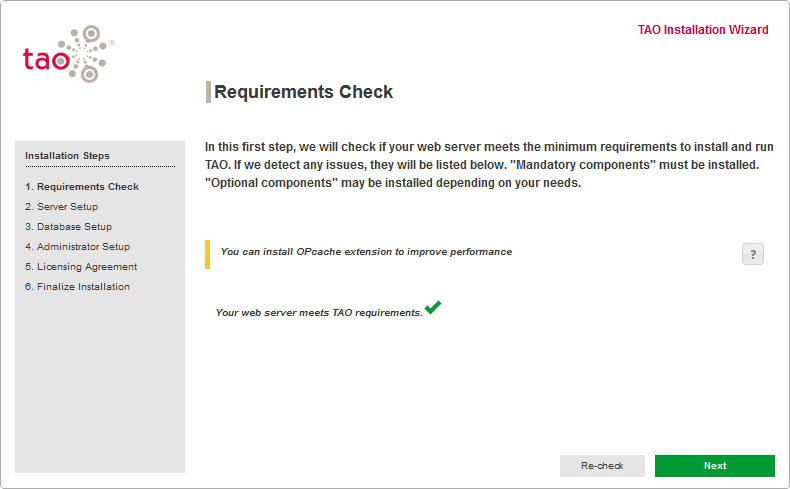
This screen will let you know if there are any missing requirements. If everything is correct you will only see Your web server meets TAO requirements followed by a green check. If there are permission issues or missing requirements, you will see the error preceded by a red line. Or, as shown here, you may see a warning preceded by a yellow line. It is important to note you can pro ceed with a warning but not with an error.
Once any errors and optionally any warnings are fixed, you will click on next to proceed to the next screen where you will configure your server.
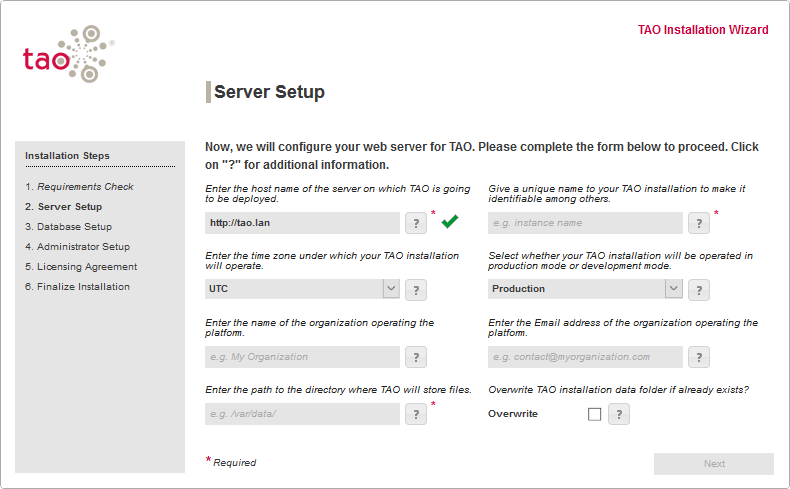
You will note several fields are marked with a red ‘*’ which means those are required fields. The required fields are your URL and a unique name for your installation. If you are using the default data directory, please note you will need to check the overwrite option. Once you’ve added your required and optional information click on next to configure your database.
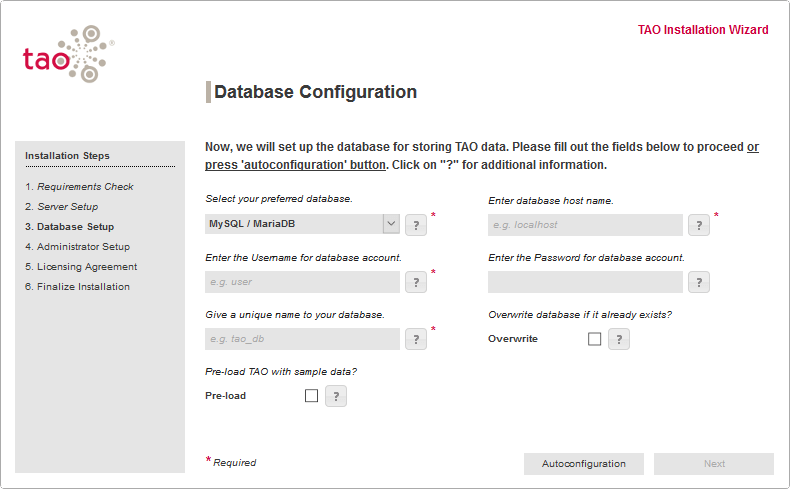
The database for TAO can be configured manually or auto-configured.
The required fields for manual installation are your database type, database host name, database user, database password, and the name for your database. You can also select whether to overwrite an existing database with the same name or create the database, if it does not already exist. You can also pre-load the database with sample data. Once you’ve added your required and optional information click on next to configure your adminstrator account.
The auto-configure install will attempt to configure your database utilizing the defaults used by XAMPP.
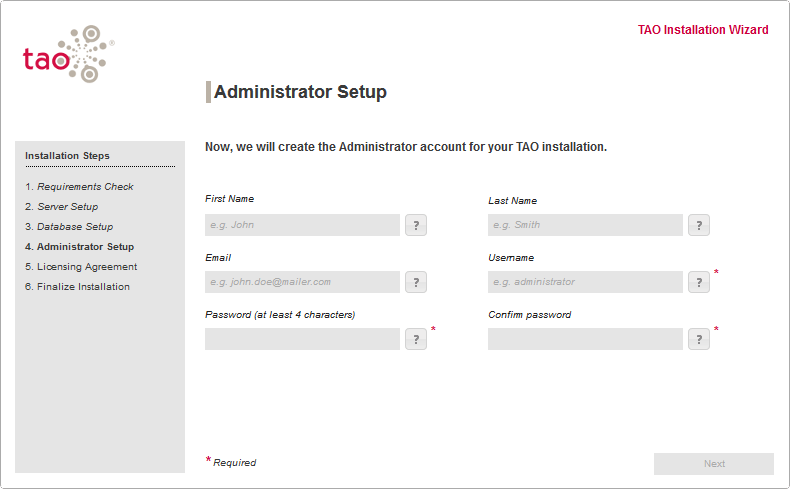
The required fields to configure the user account for the initial administrator access are: username, password and its confirmation. Once TAO is installed, you can create additional administrative users. When you’ve added your required and optional information, click on next to agree to the relevant licenses.
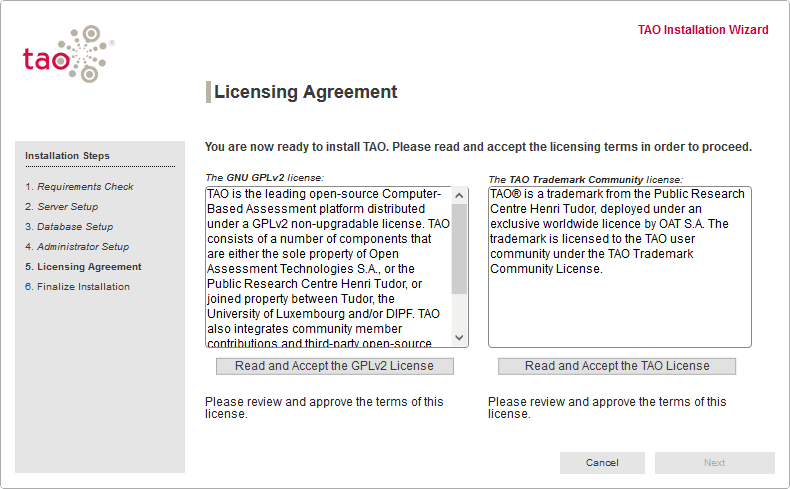
There are two licenses you will need to read and accept before proceeding. The first is the GPLv2 License under which TAO is developed. The second is the TAO Trademark Community License.
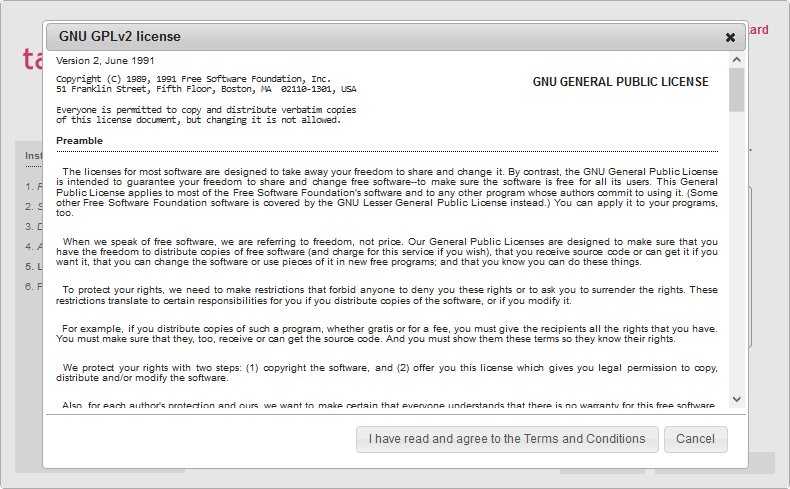
To read and accept the GPLv2 license simply click on the Read and Accept the GPLv2 License button. A window will open for you to read the license information. You can then accept the license by clicking on the I have read and agree to the Terms and Conditions button.

Once this is done you will notice a green check mark, indicating that you have reviewed and accepted the terms of the license.
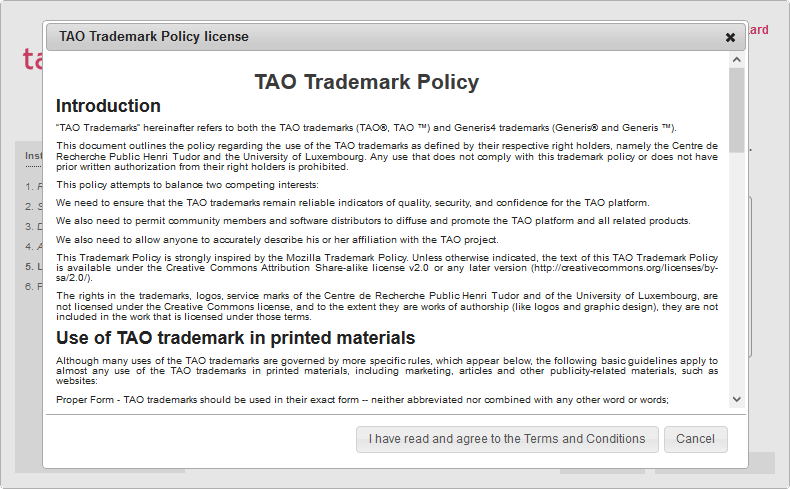
To read and accept the TAO Trademark Community license simply click on the Read and Accept the TAO License button. A window will open in which you can read the license information. You can then accept the license by clicking on the I have read and agree to the Terms and Conditions button.
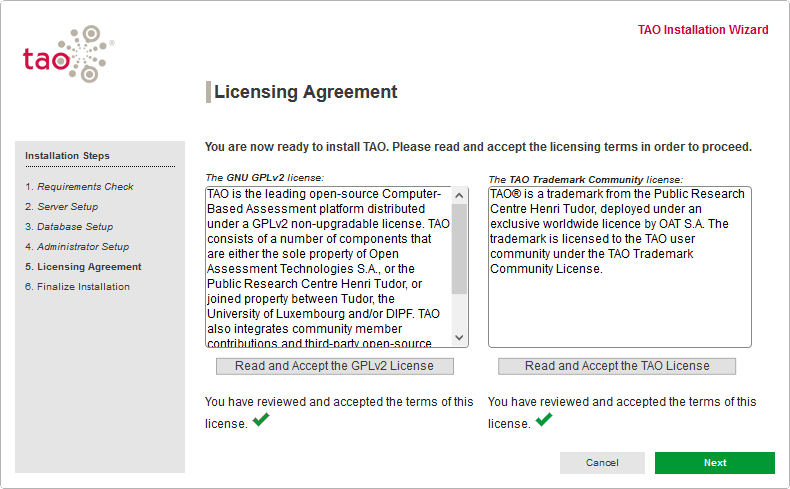
Once this is done you will notice a green check mark, indicating that you have reviewed and accepted the terms of the license. In addition, the Next button will now be available for you to proceed.

You are now ready to finalize your installation by clicking on the green Install button.
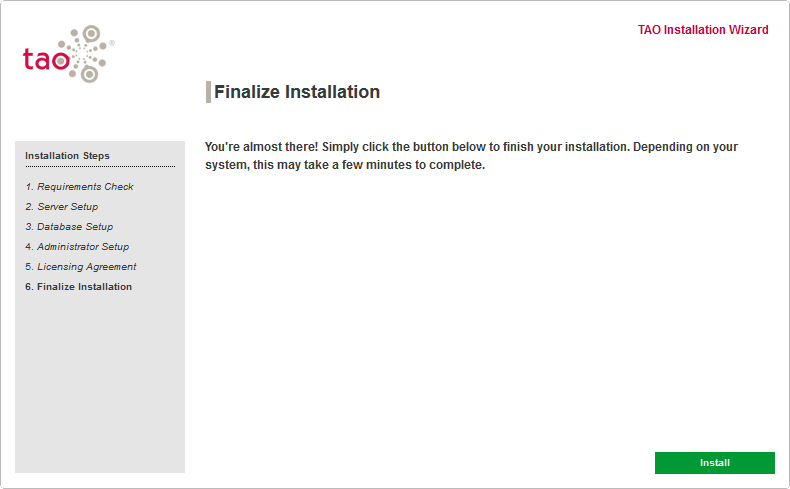
As TAO installs, you will see Deployment in progress on this screen.
Once complete, you will see a window listing the installed extensions.
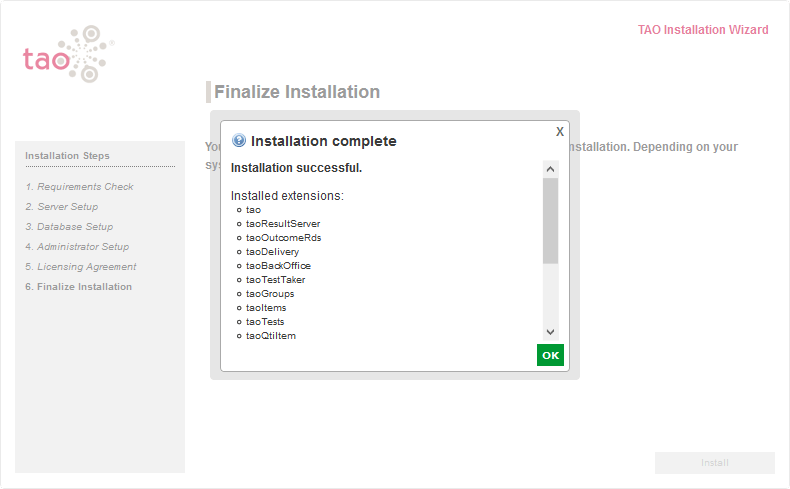
Clicking OK will take you to the URL of your hostname or IP and you may need to redirect your browser to http://\/tao to reach your TAO installation.