Media interaction
The Media Interaction allows Test-takers to view a multimedia presentation (image slide show, YouTube video, etc.), usually in connection with another interaction.

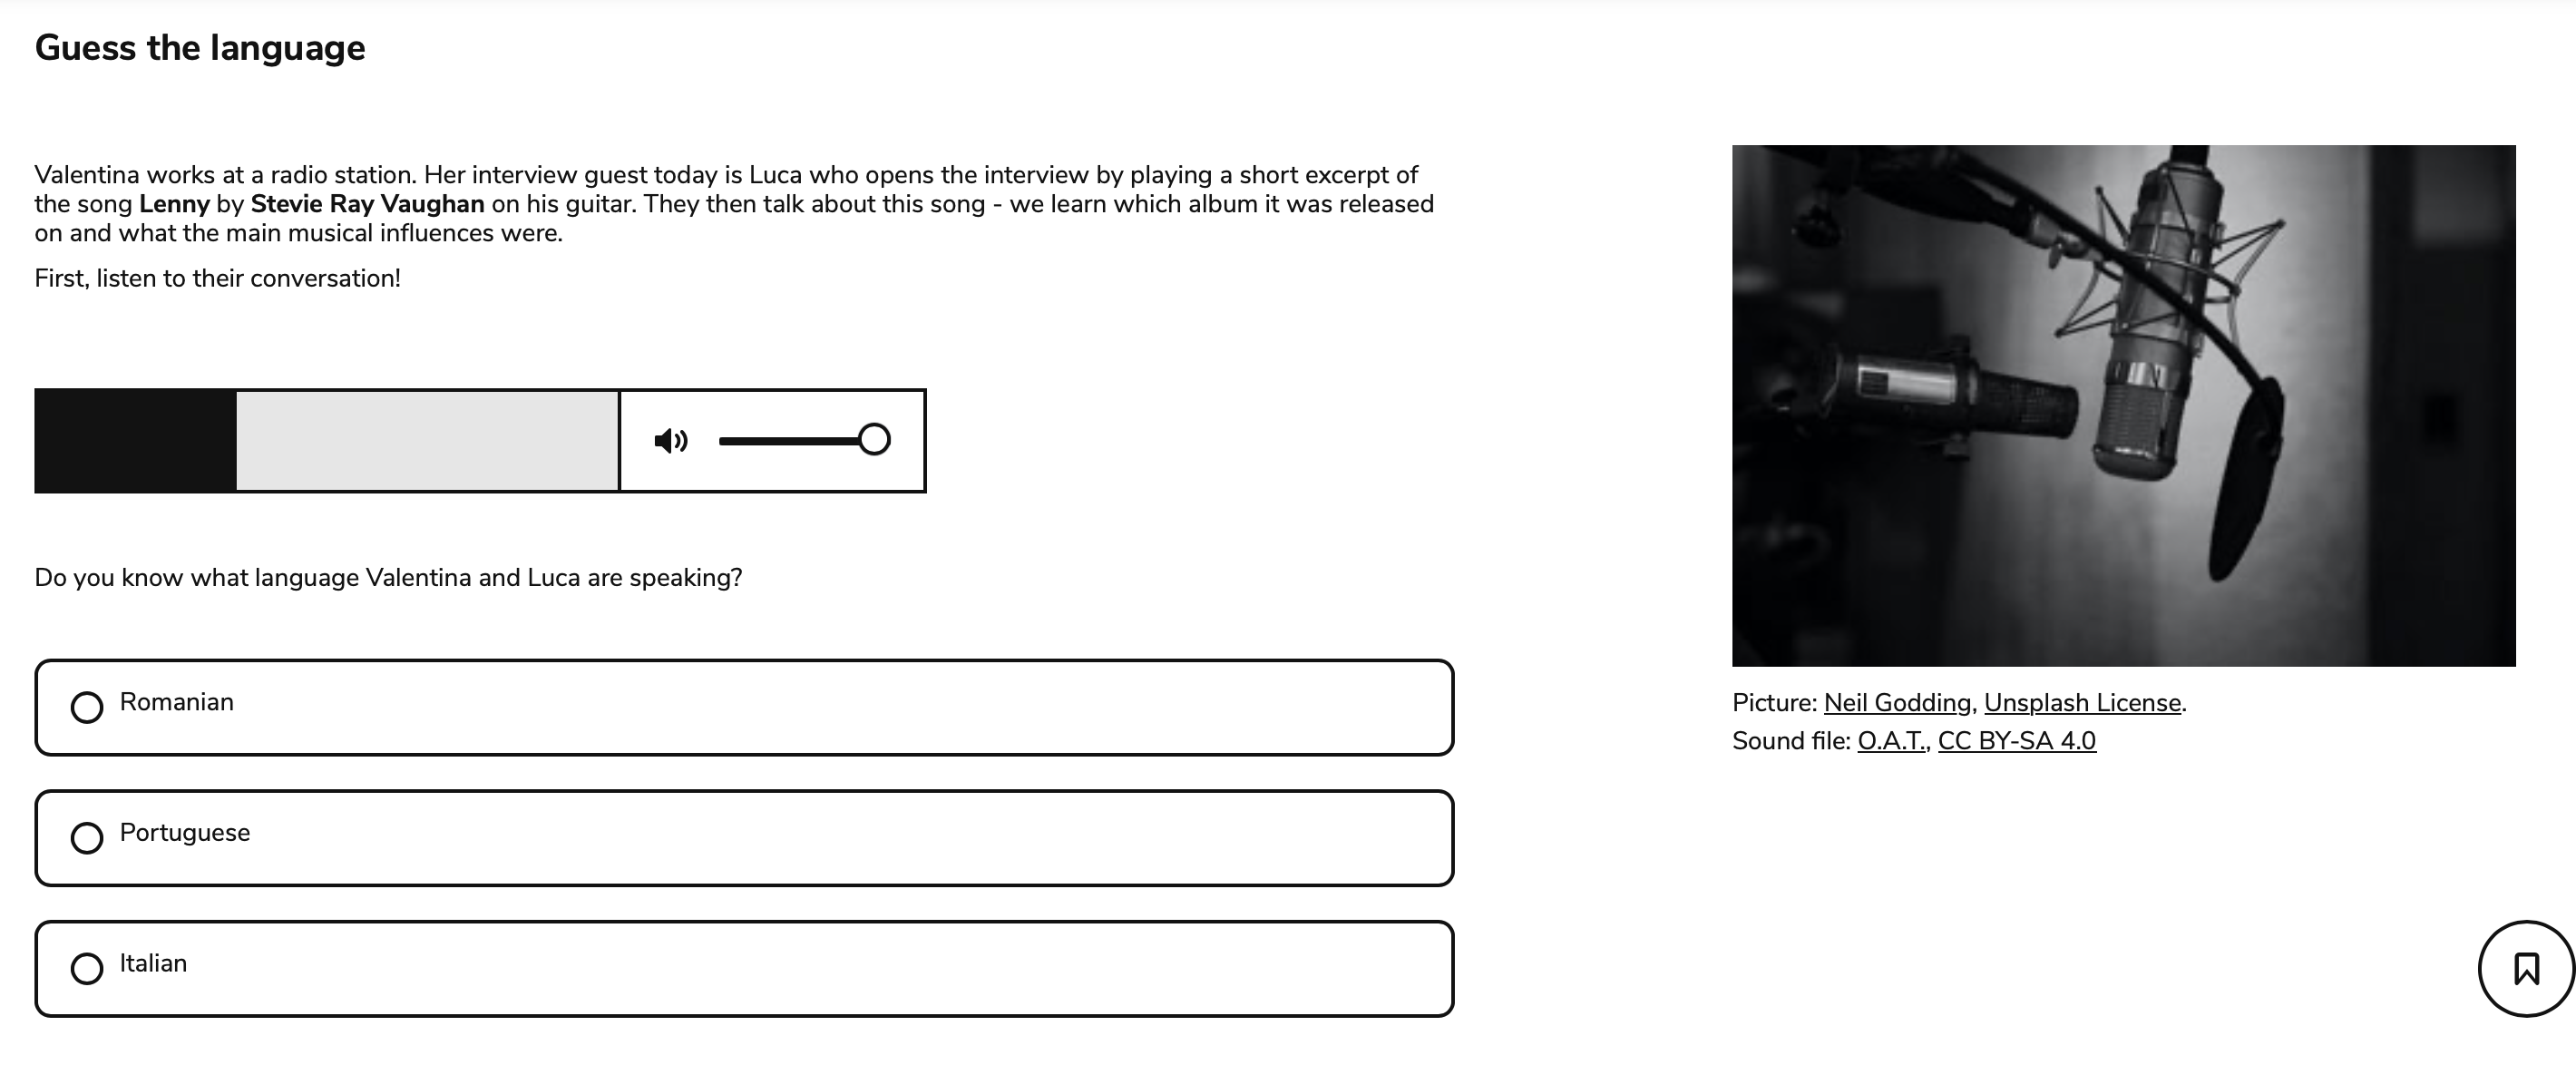
Media interaction with a choice interaction in TAO Advance
Once you have generated a new Item, and clicked on Authoring in the Action Bar, follow the steps below to create a new Media Interaction:
1. From the Common Interactions Library on the left, drag the Media icon onto the blank item and drop it onto the Canvas.
A Resource Manager window will appear with which you can select a media file. You can re-use a media file already in the resource manager, or you can upload a new one (note that size and file type restrictions apply).
To select one from the list of previously uploaded media, highlight the appropriate one in the resource manager list and click the green Select button.
To upload a new one, click on the blue Add file(s) button to browse the files on your computer, and then upload one to the resource manager by clicking the green Upload button.
Highlight the file you have chosen as your background by clicking on it, and it will appear on the right in the preview panel. Click Select in the bottom right of the window to continue.
Alternatively, exit this resource window and enter the web address of an online video or audio resource in the box entitled Media file path or YouTube video address in the Interaction Properties Panel. See here for supported media formats.
A new authoring window will appear with the media shown in the center of the canvas. Above the media file there is a question field.
2. Fill in the question field, where it says define prompt.
This will describe the task given to the test-taker (“View the following film”, “Listen to the inflections in the following sound recording”, etc.).
See the chapter Word Processing Options for details on text editing options such as using italics or bold text in your item, and inserting features such as shared stimuli or media, tables or formulae.
3. Configure the interaction in the Interaction Properties panel on the right.
Set the playback method of the media device.
These property options will affect how the test-taker views/hears the media object while it is playing.
Determine the size of the screen on which the video or audio will play in the Width and Height boxes.
Check autostart if the media device should begin playing when the interaction is opened.
Check loop if the media device should play over and over again. If this is checked, enter the number of times you wish the loop to be repeated in the Max plays count box.
Check Pause if the test-taker is permitted to pause and restart the media device during the interaction.
Audio: Determine the appearance/options available to test takers
If you are using an audio file, you have the option of limiting the media player’s visible buttons. Check the Compact Appearance box to display the Play button only.

Media player

Compact media player
4. If desired, add a further interaction to the media interaction.
Usually, a Media interaction is used to present a film or sound clip, to which a series of questions may be added. Drag the appropriate interaction type from the Common Interactions menu on the left, and consult the the steps in the user guide topics for help on how to execute this interaction.
5. Click the blue Done button. Your media interaction is now complete.
You can now preview your Interaction using the steps given in step 6 of Creating a test item.
