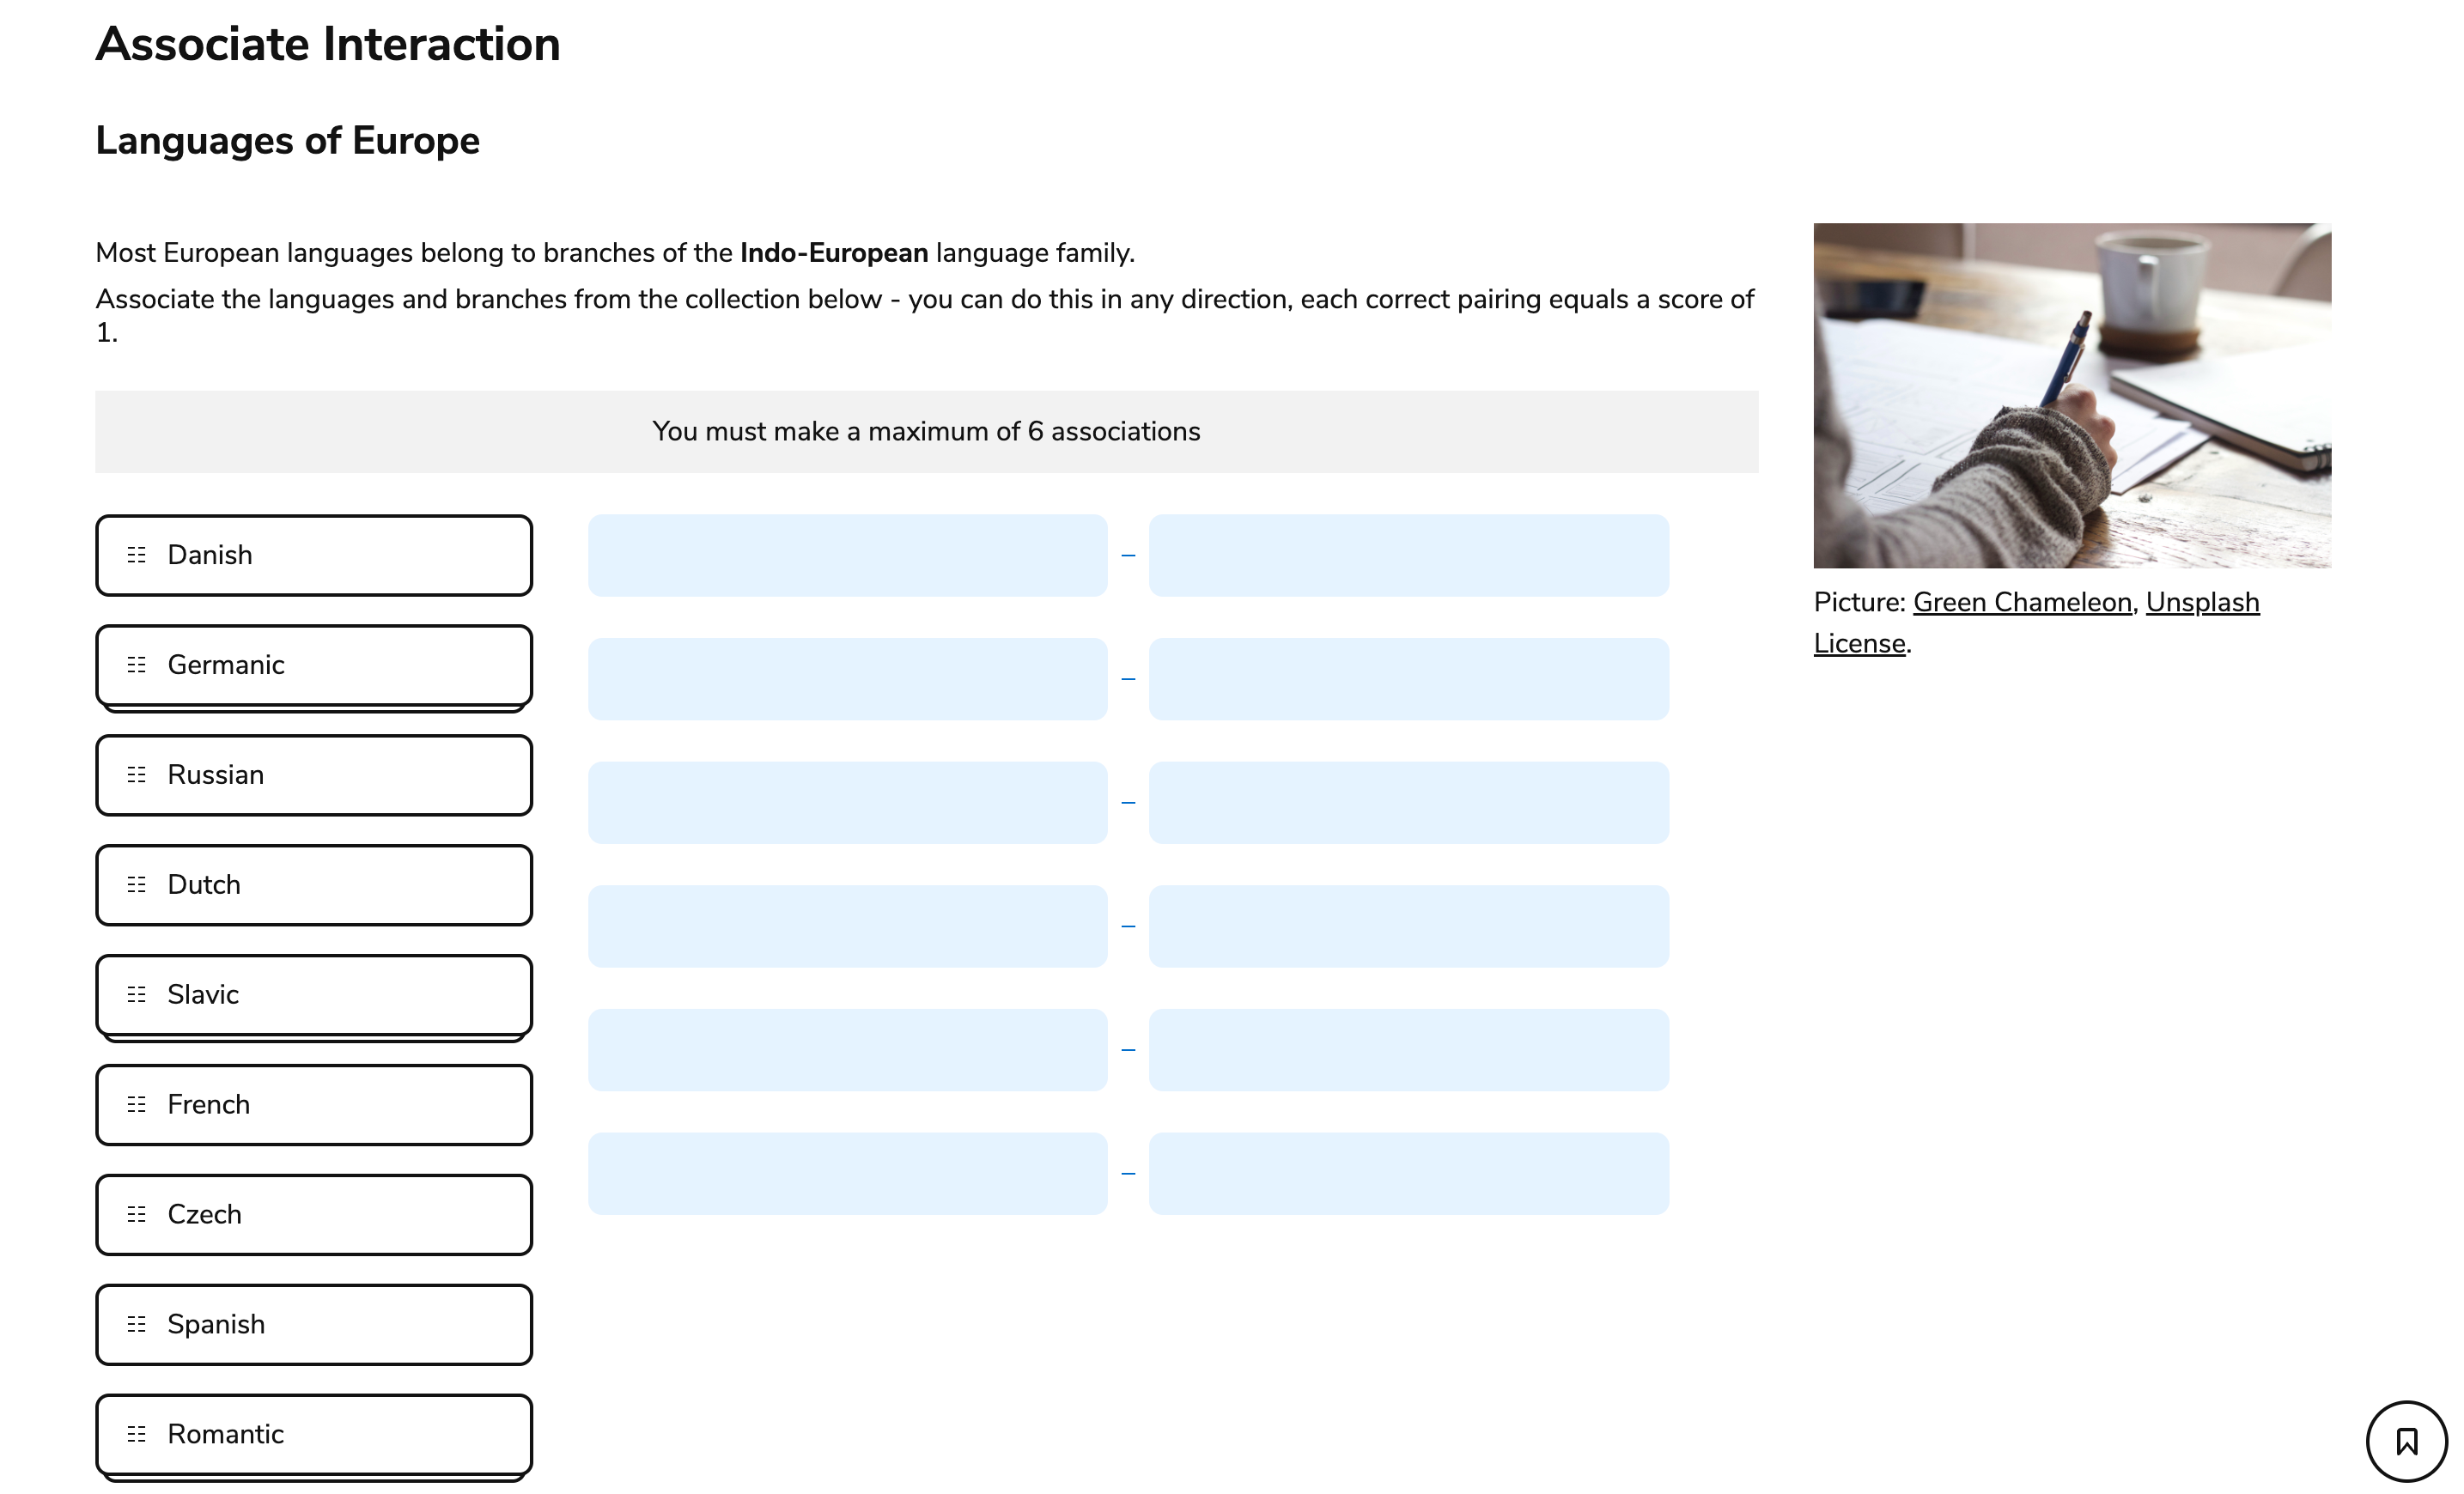
Associate interaction
The Associate Interaction assesses the Test-taker’s ability to match associated words or phrases.

Associate interaction in TAO Advance
Once you have generated a new Item, and clicked on Authoring in the Action Bar, follow the steps below to create a new Associate Interaction:
1. From the Common Interactions Library on the left, drag the Associate icon onto the blank Item and drop it onto the Canvas.
This opens a new Associate Interaction window. There is a question field at the top, two answer tile options below this, and then an example of linked boxes at the bottom.
2. Fill in the question field where it says define prompt, describing the associations (matches) being sought.
This could be in the form of a question (“Which country goes with which capital city?”) or instructional (“Match the country with the capital city.”).
See the chapter Word Processing Options for details on text editing options such as using italics or bold text in your item, and inserting features such as shared stimuli or media, tables or formulae.
Drag-and-drop is enabled for this type of interaction. Test-takers can also use click-and-click to move objects; this is an accessibility feature for test-takers with trouble using drag-and-drop.
3. Fill in the answer tiles for the question.
You will need more than two, so select Add choice as many times as needed to provide all the options to be made available to the test-taker.
We recommend adding the appropriate matches first (e.g. the correct countries and capitals) in separate tiles first, and then adding the incorrect (unmatched) options.
4. Complete optional configuration of the interaction if required.
You can choose to configure your interaction in the following ways:
shuffle the choices
specify the correct number of associations
These options are available in the Interaction Properties Panel on the right. See the section Configuring Interactions for details.
5. Click Response on the right of blue interaction header to define the correct answer(s).
This will provide all the answer tiles created in the previous step, and a series of associate pair boxes, which are to be filled in the next step.
6. Click on the first element to be associated, and then click on the first box. Click its match (association), and then click on the second box.
This will provide the first set of correct responses. Continue with this procedure until all association pairs have been linked in the association boxes, leaving the incorrect associations unmatched.
7. Complete the item’s Response Properties configuration (if required) in the Response Properties Panel.
You can choose to configure the interaction response in the following ways:
Determine how the item is to be scored. See the topic Modifying the scoring method for details.
Whether the item is to be automatically or manually (human) scored
Give partial credit for partially correct answers
Insert modal feedback
These options are available in the Response Properties Panel on the right.
8. Click the blue Done button. Your associate interaction is now complete.
After this step, you can preview and test-run your interaction by following the instructions given in Steps 5 and 6 in Creating a Test Item.
